 Birch Bay Exterior
 Building New in Terrell Creek Means Getting Windows Right the First Time
Terrell Creek sits in that stretch of Birch Bay where new lots are still going in among older, established homes — some close to the water, some tucked back on wooded parcels. When you're building new, the windows aren't a repair or an upgrade decision anymore. They're a system decision made at the framing stage, and the choices you make about frame material, flashing sequence, and glass package will determine how that house performs in twenty years, not just how it looks on move-in day.
That matters more here than in a lot of places. Birch Bay's combination of salt-laden air off the bay, wind-driven rain, and a long wet moss season is hard on building materials in a way that inland Whatcom County simply isn't. A new-construction window package that would be fine in a drier climate can start showing corrosion, seal failure, or trim rot within a handful of years if it wasn't specified and installed with this coastline in mind.
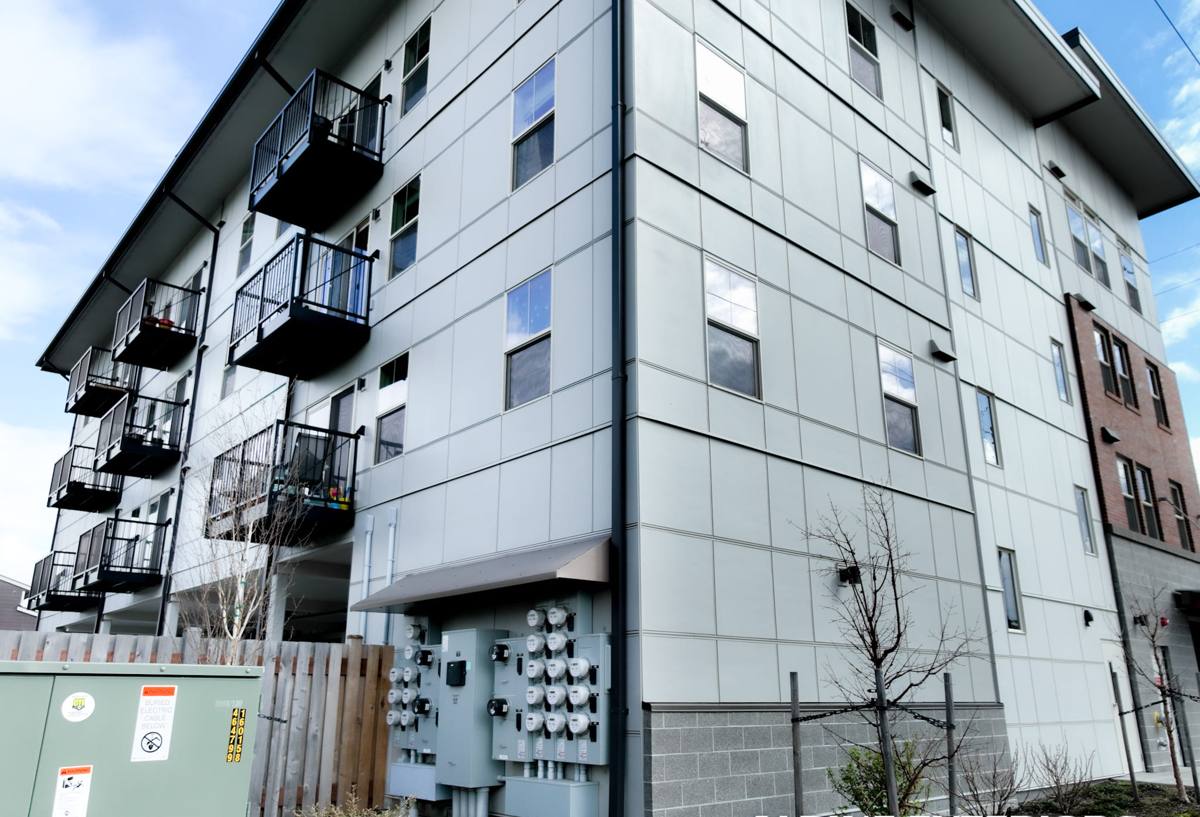
What Birch Bay's Climate Asks of a New Window Install
Salt Air and Corrosion
Airborne salt doesn't just affect homes right on the water. It travels on wind and settles on hardware, cladding, and exposed fasteners well inland from the shoreline. Over time it accelerates corrosion on lower-grade hinges, cranks, and screws, and it can dull or pit certain metal finishes faster than the manufacturer's warranty literature assumes. For new construction, this means frame material and hardware selection deserve real thought rather than a default builder-grade spec.
Driving Rain and Water Management
Storms coming off the bay tend to drive rain sideways, not straight down. That changes how a window has to be detailed at the rough opening. Sill pans, proper flashing laps, and a correctly integrated weather-resistive barrier aren't optional extras here — they're the difference between a window that sheds water and one that slowly feeds it into the wall cavity behind the trim.
Moss Season and Trim Longevity
Whatcom County's long wet season keeps north-facing and shaded surfaces damp for months at a stretch, which is exactly the environment moss and mildew need. Window trim, sills, and any wood components in the surrounding assembly need to be able to dry out between soakings. On a new build, this is a design conversation as much as a product one — overhangs, sill pitch, and trim material all affect how long the window assembly stays wet after a storm.
Installation Details That Matter More in New Construction
Flashing and the Weather-Resistive Barrier
On a new build, the window installer is working with a bare rough opening, not an existing wall that has to be opened up. That's an advantage — it means flashing tape, sill pans, and the weather-resistive barrier can be integrated in the correct shingle-lap order without cutting corners. Getting this sequence wrong is one of the most common sources of hidden water intrusion in new homes, and it's much harder and more expensive to fix once siding is on.
Rough Opening Tolerances
New-construction windows are typically installed with a nailing fin directly to the sheathing, which means the rough opening size and squareness have to be dead-on before the window ever goes in. An opening that's slightly out of square can force a window frame to rack, which stresses the seals and hardware from day one and shows up later as air leaks or a sash that won't operate smoothly.
Sealants and Backer Rod
The right sealant, applied at the right joints with proper backer rod where needed, is what allows the assembly to move with temperature swings without cracking the seal. In a climate with this much sustained moisture exposure, a sealant joint that fails quietly behind the trim can go unnoticed for a long time before it shows up as a stain or soft spot.
Frame Material Choices for a Coastal New Build
There's no single "best" frame material for every new-construction project in Terrell Creek — the right call depends on budget, the home's exposure to wind and salt air, and how much long-term maintenance the owner wants to take on. Here's how the common options generally compare in this specific climate:
| Frame Material | Salt Air / Coastal Performance | Maintenance | Typical Cost Position |
|---|---|---|---|
| Vinyl | Good — won't corrode or rust, though color and hardware quality vary by manufacturer | Low | Entry to mid |
| Fiberglass | Very good — dimensionally stable, resists moisture and salt exposure well | Low | Mid to upper |
| Wood-clad | Fair to good — the exterior cladding protects the wood, but any breach in the cladding invites rot faster in this climate | Moderate to high | Upper |
| Aluminum | Requires a quality thermal break and marine-grade or coated hardware to hold up to salt air long-term | Moderate | Mid to upper |
We don't push a single brand or material on every job. Instead, we walk through where the lot sits relative to the bay, how exposed the elevation is to prevailing wind and rain, and what the homeowner or builder is comfortable maintaining, then match the frame material to that reality rather than to whatever happens to be cheapest to stock.
Glass and Orientation Planning for Terrell Creek Lots
New construction gives you a rare opportunity: you can plan the glass package around the specific orientation of the house before the walls are even framed. Elevations that take the brunt of wind-driven rain off the bay benefit from higher-performance weatherstripping and, in some cases, impact-resistant or laminated glass options. South- and west-facing glass on more open lots benefits from a glass coating chosen for solar control, while shaded, tree-covered lots common further back from the water are less about solar heat gain and more about keeping the assembly dry.
This is also the point in a build where low-E coatings, gas fill, and spacer type get decided. On a coastal new build, we pay particular attention to spacer and seal quality, since a failed seal shows up as fogging between the panes — and replacing a fogged insulated glass unit years after installation is a far bigger hassle than specifying the right one at the outset.
How the Install Fits Into Your Build Timeline
Working With Your General Contractor
On most new builds, we're coordinating directly with the framer and the GC rather than the homeowner alone. That means confirming rough opening dimensions against the window order before framing is finalized, catching any discrepancies early, and scheduling the install to happen once the building is weathered in but before siding closes up the flashing details.
Scheduling Around Framing and Siding
Windows generally go in after the roof is dried in and the weather-resistive barrier is up, and before siding or exterior trim is installed. That order lets us properly lap the flashing into the barrier and gives the siding crew a clean, already-sealed opening to trim out. Rushing this sequence — or having it happen out of order because of a scheduling conflict on the job site — is one of the more common ways new-construction water problems get built in from the start.
Permits, Codes, and Energy Requirements in Whatcom County
New-construction windows in Whatcom County need to meet current Washington State Energy Code requirements for U-factor and, depending on the compliance path the builder is using, may factor into the whole-house energy credit calculation. Egress-sized windows are also required in bedrooms and certain other rooms under the building code, which needs to be confirmed against the window schedule before units are ordered, not after they arrive on site. We work from the approved plans and window schedule and flag anything that looks like it won't pass inspection before it becomes a change order.
Why a Crew That Already Works Terrell Creek Matters
A lot of window problems in coastal new construction don't show up at final inspection — they show up two, five, or ten years later, after a few wet winters have tested the flashing and sealant work nobody can see anymore. A crew that's installed windows in Terrell Creek and the surrounding Birch Bay area repeatedly already knows which elevations take the worst of the wind-driven rain, which lots stay damp longest into spring, and which details are worth the extra time versus which are overkill for a given site.
That local pattern recognition is hard to get from a crew that's mostly worked drier inland builds and is treating this job like any other new construction install. It shows up in small decisions — how much sill pan overlap to use, whether a particular elevation warrants a belt-and-suspenders flashing detail, how trim gets specified to survive the moss season — that don't cost much more to do right the first time, but cost a lot to fix after the siding is already on.
Before Installation Day: A Checklist
Whether you're a homeowner working with a custom builder or managing your own build, these are worth confirming before windows are ordered and installed:
- Final window schedule matches approved plans, including egress requirements for bedrooms
- Rough openings are framed square and to the dimensions on the window order
- Frame material and glass package have been chosen with the lot's specific wind and rain exposure in mind, not just a standard builder spec
- Weather-resistive barrier is installed and ready for proper flashing integration before window delivery
- Installation is scheduled after the building is dried in but before siding closes up the openings
- Hardware and fasteners are rated to hold up to salt air exposure, not just standard-grade components
If you're building in Terrell Creek or elsewhere in Birch Bay and want a straight answer on what your new-construction window package should look like for your specific lot, we're happy to walk the plans with you and put together a free, no-pressure estimate — just fill out the form below.