 Birch Bay Exterior
 Semiahmoo's Coastal Exposure and What It Does to Siding
Homes around Semiahmoo sit close enough to the water that siding takes a different kind of beating than homes further inland in Whatcom County. Salt-laden air corrodes exposed fasteners, flashing, and trim hardware faster than it would a few miles away from the shoreline. Wind-driven rain coming off the water pushes moisture sideways into seams, corners, and trim joints that would stay dry in a gentler storm. And the long Pacific Northwest moss season — often eight months or more of the damp, low-sun conditions moss and algae thrive in — means siding surfaces here stay wet longer between drying cycles than most manufacturers assume when they write their installation specs.
None of that means siding is doomed in this area. It means a repair has to account for how the material actually behaves under this specific combination of salt, wind, rain, and shade — not just patch whatever is visibly broken and move on.
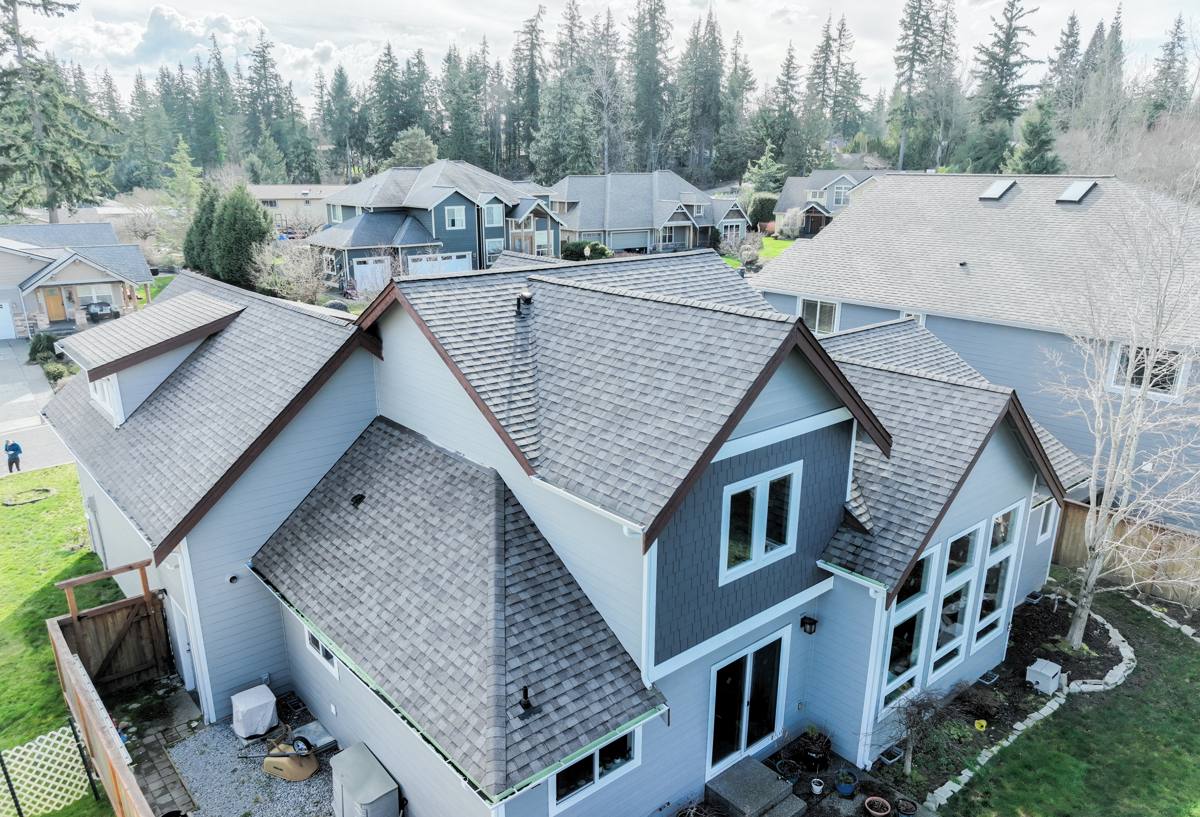
Signs Your Siding Needs Repair, Not Replacement
Most siding problems we're called out for in Semiahmoo don't require tearing a whole wall off. Caught early, they're a repair. Caught late, they turn into a much bigger job. Watch for:
- Soft or spongy spots when you press on a board, especially near the bottom courses or below windows
- Dark staining or streaking running down from seams, trim, or fastener heads
- Paint or finish peeling or bubbling right at butt joints, even if the rest of the wall looks fine
- Visible gaps or separation at corners, trim boards, or window and door casings
- Cracked, chipped, or delaminating boards
- Moss or algae that keeps coming back in the exact same spot year after year, even after cleaning
- Swelling or a soft edge along the bottom of siding near grade level
- Rust streaking or popped nail heads along a wall
Any one of these can be a straightforward, contained repair if it's addressed before water works its way further behind the siding.
What a Correct Siding Repair Actually Involves
A repair that's done right starts with figuring out what's actually happening behind the siding, not just what's visible from the driveway. That means checking moisture content in the boards around the damaged area, not just the damaged board itself, and pulling back enough material to see whether the house wrap and flashing behind it are still doing their job. Water rarely stays exactly where it entered — by the time a stain shows up on the face of a board, it's often traveled sideways or down first.
A correct repair also means checking whether rot or moisture has reached the sheathing underneath. If it has, patching the siding without addressing what's behind it just seals the problem back up. Once the scope is confirmed, the repair itself needs matching material, correct fastener spacing and type for the exposure, properly lapped and sealed flashing at every joint, and a finish that matches the surrounding wall — not a visibly different patch that ages differently than everything around it.
Common Repair Scenarios Around Semiahmoo
Moss and algae staining on shaded walls
North-facing and heavily shaded walls near tree lines hold moisture the longest. Left untreated, moss doesn't just stain the surface — its root structure can hold water against the siding and, over enough seasons, contribute to finish breakdown at the joints underneath it.
Corrosion at fasteners and trim near the shoreline
Salt air accelerates corrosion on any exposed metal — nail heads, flashing, trim fasteners. Once a fastener starts to rust and lose its grip, the board it's holding can start to work loose, which opens a path for water.
Wind-driven rain intrusion at joints and trim
Butt joints, window trim, and corner boards that weren't flashed correctly during the original install are the first places wind-driven rain finds a way in during a real storm. This shows up as staining or soft wood well before it's obvious from the ground.
Rot in original trim or band boards
Where the original material wasn't well suited to this exposure, trim and band boards near grade or under gutters are often the first to soften and need repair, even when the field siding above still looks fine.
Repair Approaches: Patch, Section Replacement, or Full Re-Side
Not every repair needs the same scope. Part of doing this honestly is recommending the smallest scope that actually solves the problem — and being upfront when a spot repair won't hold.
| Approach | Best for | What's involved | Considerations |
|---|---|---|---|
| Spot/patch repair | Isolated damage — one or two boards, a single joint or corner | Remove and replace the damaged piece, correct flashing behind it, match finish | Only appropriate if moisture hasn't spread beyond the visible damage |
| Section replacement | Damage concentrated on one wall or elevation | Remove and replace an entire wall section, re-check house wrap and flashing across that section | Common on the wall taking the most wind-driven rain or shade |
| Full re-side | Widespread failure, or original material/installation not suited to the exposure | Complete removal, inspection and repair of sheathing, new siding system installed to spec | Usually the better long-term value once damage is spread across multiple walls |
Why We Repair Exclusively With James Hardie Fiber Cement
Our company installs and repairs with James Hardie fiber cement siding — not vinyl, not LP SmartSide, not cedar or primed spruce. That's a deliberate standard, not a limitation, and it matters even more for repair work in an exposure like this one.
| Material | How it holds up to salt air, wind-driven rain, and moss | Repair considerations |
|---|---|---|
| James Hardie fiber cement | Non-combustible, engineered moisture resistance, factory ColorPlus finish holds color | Repaired sections match existing ColorPlus finish closely; material doesn't rot |
| Vinyl | Doesn't rot, but can warp, fade, or become brittle with age and UV/salt exposure | Older panels are often discontinued, making color and profile matching difficult |
| Wood (cedar, primed spruce) | Attractive but absorbs moisture readily; needs consistent refinishing to stay protected | Rot at joints and grade level is common in this climate without regular upkeep |
| LP SmartSide (engineered wood) | Wood-based product that depends heavily on correct sealing and maintenance to resist moisture | Edge and joint sealing has to be maintained closely in a wet, salt-air climate |
James Hardie's HZ5 product line is engineered specifically for the kind of freeze-thaw, moisture, and humidity conditions found in this part of Washington. The factory-applied ColorPlus finish is baked on under controlled conditions, which is a big part of why a repaired section can be color-matched closely to existing siding instead of looking like an obvious patch a year later. Combined with a strong transferable warranty and a fiber cement core that doesn't rot or delaminate, it's the product we're willing to put our name behind — for new installs and for repairs alike.
Our Repair Process, Step by Step
- On-site inspection, including moisture testing around the damaged area, not just the visibly damaged board
- Diagnosis of the cause — flashing failure, fastener corrosion, moss/moisture retention, or original material and installation not suited to the exposure
- A clear, honest scope recommendation: patch, section replacement, or full re-side, with the reasoning explained
- Removal of damaged material and inspection of sheathing and house wrap underneath
- Repair or replacement of any compromised sheathing before new siding goes back on
- Correct flashing and drainage details at every joint, corner, and trim intersection
- Installation of matching James Hardie material with proper fastening for the exposure
- Finish and caulk work matched to the surrounding siding
- Final walkthrough so you know exactly what was found and what was done
Why Hiring a Crew That Already Works Semiahmoo Matters
A crew that regularly works this stretch of Whatcom County already knows which walls take the worst of the wind-driven rain, how quickly salt air corrodes standard fasteners versus corrosion-resistant ones, and which shaded spots grow moss back within a season no matter how well they're cleaned. That knowledge shortens the diagnostic process and helps avoid repairs that look fine for a year and then fail again in the same spot. It also means fewer surprises with permitting and local code requirements, since those details don't change from job to job the way they might for a crew that only occasionally works this area.
Keeping Repaired Siding Protected Going Forward
A good repair should hold up — but a little seasonal attention goes a long way in this climate, especially this close to the water.
- Walk the exterior once or twice a year, paying close attention to the walls that face the water and prevailing wind
- Keep gutters and downspouts clear so water isn't running down the face of the siding
- Trim back vegetation and tree cover that keeps a wall shaded and damp longer than it needs to be
- Clean moss and algae gently — avoid high-pressure washing, which can force water behind boards and joints
- Address any new caulk cracking, staining, or soft spots right away rather than waiting for the next dry season
If you're seeing any of the warning signs above, or just want an honest read on what shape your siding is in, we're happy to take a look. Fill out the form below for a free, no-pressure estimate — we'll tell you straight whether you're looking at a repair or something bigger.