 Birch Bay Exterior
 Building on the Water Side of Birch Bay Comes With Extra Window Requirements
Point Whitehorn sits on the exposed, wooded coastline west of Birch Bay, where homes face the Strait of Georgia directly and take weather that inland Whatcom County builds simply don't see. If you're framing a new home out here, the windows you choose and how they're installed matter more than they would on a sheltered lot in town. Wind-driven rain, salt-laden air, and a wet season that can stretch from October through May put every seam, fastener, and flashing detail to the test. Get it right during framing and rough-in, and you've got windows that perform for decades. Get it wrong, and you're chasing leaks and rot behind the trim within a few winters.
We install new-construction windows for builders and owner-builders throughout the Birch Bay area, and Point Whitehorn jobs get treated differently from a standard subdivision install. This page covers what that actually means.
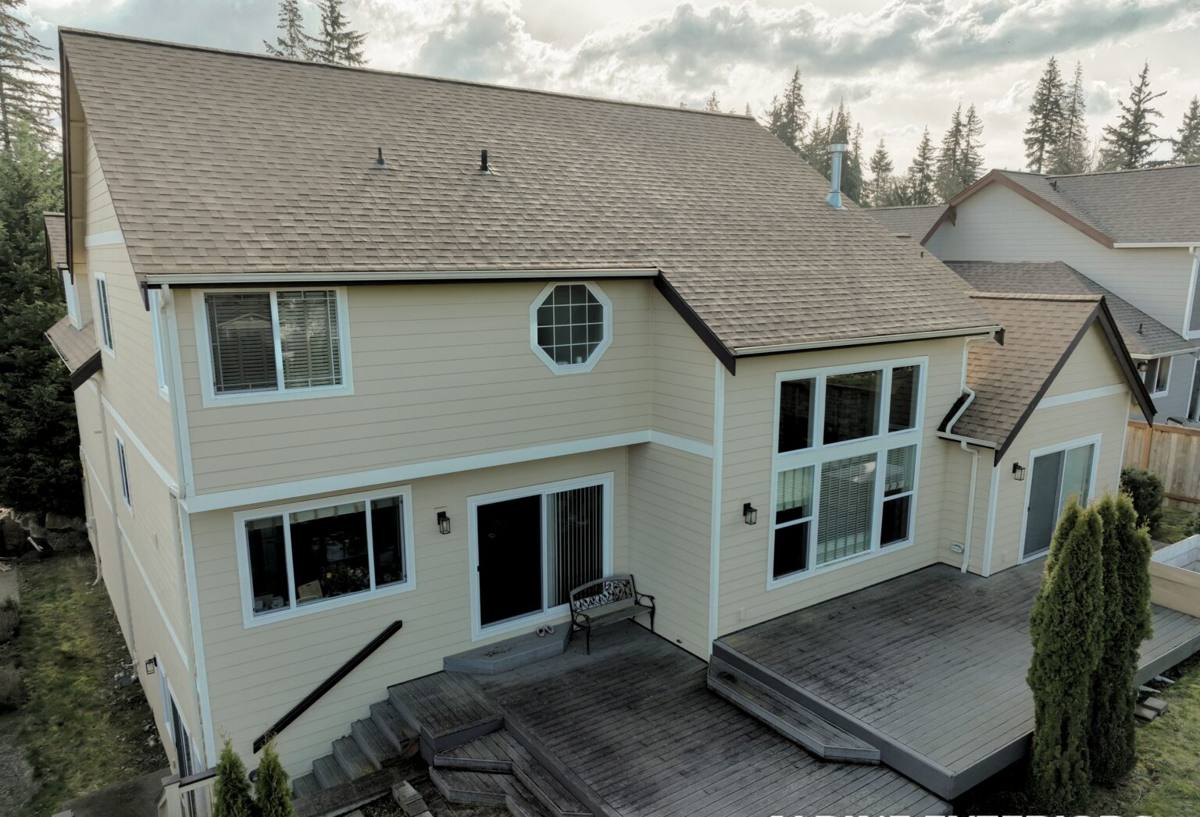
New-Construction vs. Replacement: Why the Distinction Matters
New-construction windows have a nailing flange built into the frame, designed to be integrated directly into the wall's weather-resistive barrier (WRB) before siding goes on. Replacement windows are built to drop into an existing opening without disturbing the exterior wall assembly. On a Point Whitehorn build, you have the rare advantage of doing this the right way from the start — but only if the sequencing and flashing details are followed correctly.
Flanged Windows and the WRB
The nailing flange is only as good as the water management system it's tied into. That means the housewrap or WRB, the flashing tape, and the window flange all need to overlap in the correct shingle-style order — upper layers over lower layers — so any water that gets behind the siding drains out and away from the rough opening instead of pooling against it.
Why This Stage Is a One-Shot Opportunity
Once the siding and trim go on, the flashing details are hidden. Mistakes made here don't show up as a leak on day one — they show up as soft sheathing, staining, or mold behind the wall two or three winters later, usually right around window corners. That delay is exactly why this stage deserves more attention than it typically gets on a fast-moving build schedule.
What Point Whitehorn's Climate Actually Demands
Three conditions define window performance out here, and they compound each other:
Salt Air
Proximity to the water means airborne salt settles on every exterior surface, including window hardware, fasteners, and frames. Over time, salt exposure accelerates corrosion on lower-grade metal components and can degrade some finishes faster than the manufacturer's inland testing would suggest.
Driving Rain
Open water exposure means wind doesn't just blow rain sideways occasionally — during a winter storm it can drive rain horizontally into any gap in the building envelope. Static water-resistance ratings tested in calm conditions don't tell the full story; installation quality is what actually keeps water out under real wind-driven pressure.
Moss Season
Whatcom County's long wet season, especially under tree cover common around Point Whitehorn lots, keeps north- and shade-facing surfaces damp for months at a stretch. Moss and algae growth around window sills and trim isn't just cosmetic — sustained moisture against wood trim or poorly sealed sill flashing is what eventually leads to rot.
Getting Water Management Right
This is the part of a new-construction window install that determines whether the job holds up. It happens in a specific order, and skipping steps is where most future leaks originate.
Sill Pan Flashing
Before a window ever goes into the rough opening, the sill should have a sloped or pan flashing installed so that any water that does get past the window drains back outside the wall rather than sitting on the sheathing. On coastal, high-exposure sites like Point Whitehorn, we treat sill pan flashing as non-negotiable, not an upgrade.
Jamb and Head Flashing
Side flashing ties the window flange into the WRB along the jambs, and head flashing — installed last, over the top flange — sheds water down and over everything below it. Order matters: head flashing goes on after the side flashing and WRB integration, never before.
Sealant Is a Backup, Not the Plan
Caulk and sealant around the exterior trim are a secondary line of defense. If the flashing and WRB integration are done correctly, sealant failure years down the road is a maintenance issue. If flashing was skipped or done out of order, sealant failure becomes a structural one.
Choosing Materials for a Coastal Whatcom County Build
There's no single "best" window material — the right choice depends on exposure, budget, and how much upkeep you want to take on. Here's how the common options hold up specifically in a salt-air, high-moisture environment like Point Whitehorn:
| Frame Material | Salt Air Performance | Maintenance | Typical Trade-Offs |
|---|---|---|---|
| Vinyl | Good — won't corrode or rust | Low; occasional cleaning | Fewer color/size options at larger spans; frame can expand/contract more with temperature swings |
| Fiberglass | Very good — dimensionally stable, resists corrosion | Low | Higher upfront cost than vinyl |
| Aluminum-clad wood | Depends on cladding quality; hardware and fasteners need to be corrosion-resistant | Moderate to high — interior wood needs monitoring for moisture | Attractive interior wood finish, but more exposure to inspect and maintain over time |
| Bare wood | Poor without diligent upkeep near salt air and constant moisture | High — regular refinishing required | We generally steer new builds on exposed coastal lots away from bare exterior wood for this reason |
We also pay attention to hardware — hinges, locks, and fasteners rated for coastal or marine-grade use hold up noticeably longer than standard interior-grade components once salt air gets into the picture.
Our New-Construction Window Installation Process
1. Rough Opening Check
Before any window arrives on site, we verify the rough opening is square, level, and sized correctly to the manufacturer's specifications. On a new build this is usually clean, but we still check — a framing error caught now costs nothing; caught after siding, it costs a lot.
2. Sill Pan and WRB Prep
Sill pan flashing goes in first, followed by properly lapped WRB at the jambs, ready to receive the window flange.
3. Setting and Shimming
The window is set into the opening, shimmed for level and square, and fastened per manufacturer specification — over- or under-shimming can bind sashes or cause premature seal failure.
4. Flashing the Flange
Jamb flashing, then head flashing, integrated with the WRB in correct shingle-lap order so the whole assembly sheds water outward and down.
5. Interior and Exterior Seal
Low-expansion foam or backer rod and sealant at the interior gap for air sealing, plus a final bead of exterior sealant at the trim line as the backup layer discussed above.
6. Final Check
We test operation, confirm the unit is square and operating smoothly, and photograph flashing details before siding covers them — useful documentation if it's ever needed later.
Working Alongside Your Builder or GC
Most of our Point Whitehorn work is coordinated directly with a general contractor or owner-builder on a framing schedule. Window installation has to happen at a specific point — after the WRB is on, before siding starts — and delays in window delivery can back up a whole schedule. We communicate directly with your GC on timing, and we're upfront if weather (a real factor during a wet Whatcom County framing season) is going to push the install date.
Mistakes We See on Coastal New Builds
Most window problems we get called out to fix on newer coastal homes trace back to a short list of avoidable issues:
- Head flashing installed before, instead of after, the WRB and side flashing
- No sill pan flashing, relying on caulk alone at the sill
- Standard interior-grade fasteners used on an exposed, salt-air elevation
- Sealant used as the primary water barrier instead of a backup layer
- Window sizes ordered from plans without a final rough-opening field measurement
- Trim installed tight against the siding with no drainage gap, trapping moisture
Every one of these is preventable with correct sequencing and materials rated for the exposure — none of it requires exotic products, just doing the ordinary steps in the right order.
Why Local Experience on This Stretch of Coast Matters
A crew that mostly installs windows on sheltered, inland lots doesn't always treat sill pan flashing or fastener grade as a must-have — because on those sites, it usually isn't. Point Whitehorn's direct water exposure changes that calculus. We've installed windows on enough lots along this part of the Birch Bay coastline to know which elevations take the worst of the driving rain, where moss buildup tends to concentrate, and which details are worth the extra half hour during framing. That's the kind of judgment that only comes from working this specific stretch of coast repeatedly, not from a general installation checklist.
Protecting Your Investment Through Moss Season
A correctly installed new-construction window needs very little from you, but a few habits extend its life on a site like this:
- Rinse salt residue off frames and glass periodically, especially after storms
- Keep gutters and any nearby roof drainage clear so water isn't dumping near window heads
- Check and refresh exterior sealant at trim joints every few years — it's the backup layer, and backups wear out
- Trim back vegetation that keeps a window elevation shaded and damp longer than it needs to be
- Watch for soft trim or staining below sills, which is the earliest visible sign of a flashing issue
If you're framing a new home in Point Whitehorn or elsewhere along the Birch Bay coastline, we're happy to walk the plans with you or your builder and give you a straightforward, no-pressure estimate on the window package and installation. Use the form below to get started.