 Birch Bay Exterior
 Building New in Blaine: Why Window Installation Isn't the Place to Cut Corners
If you're framing a new home or a major addition near Blaine, the windows are one of the few components that have to get the building science right the first time. Once siding, trim, and interior finish go on, a poorly flashed window becomes a hidden problem instead of a visible one. In this part of Whatcom County — close enough to Semiahmoo Bay and the Strait of Georgia to catch salt-laden air, and squarely in the path of driving winter rain off the water — that's a bigger deal than it would be in a drier inland climate.
Birch Bay Exterior Co works new-construction window installs for builders and homeowners in the Blaine area regularly, alongside our core siding and exterior work. We're not a big regional volume installer moving through a schedule as fast as possible; we're a local crew that treats window openings as part of the building envelope, not just a hole to fill with a product.
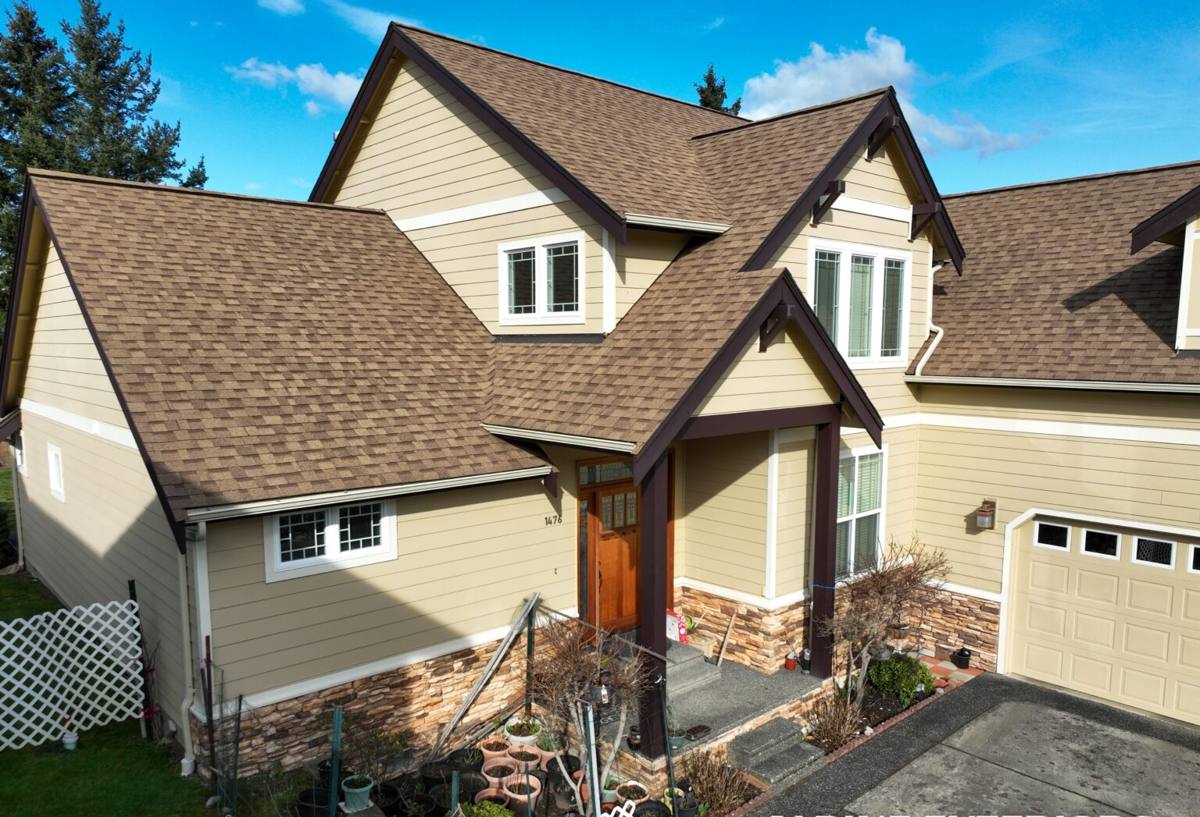
What Blaine's Climate Actually Does to a Window Opening
A few regional factors shape how we approach new-construction windows here specifically:
- Salt air. Proximity to saltwater accelerates corrosion on exposed fasteners, hinges, and lower-grade cladding finishes over the life of the window. It's a slow process, but it's constant, and it doesn't stop at the coastline — wind carries it inland.
- Driving rain. Storms coming off the water frequently push rain sideways, not straight down. That means water is testing the vertical and head flashing details on a window far more often than it would on a home in a sheltered inland valley.
- A long moss and moisture season. Whatcom County's wet season runs long, and shaded or north-facing walls stay damp for extended stretches. Any gap in the water-resistive barrier or sealant around a window becomes an entry point that has months to do damage before things dry out again.
None of this means new construction here requires exotic products. It means the installation details — flashing sequence, sill pan drainage, sealant selection, and how the window ties into the wall's drainage plane — matter more here than they would in a drier climate, and there's less margin for a rushed or generic install.
New-Construction Windows vs. Replacement Windows: Why the Distinction Matters
New-construction windows have a nailing flange (fin) around the perimeter of the frame that gets fastened directly to the wall sheathing before siding or exterior finish goes on. That's different from a replacement or "pocket" window, which is designed to fit into an existing opening without disturbing the siding around it.
Because a new-construction window is installed before the wall is closed up, it gets integrated directly into the weather-resistive barrier (WRB) and flashing system — which is actually an advantage. Done correctly, you get a continuous drainage plane with no compromises for working around existing finishes. Done poorly, a mistake gets buried behind siding and isn't visible again until there's a leak, rot, or a mold problem years later.
This is the core reason new-construction window work deserves its own attention rather than being treated as a smaller version of a replacement job — the sequencing, not just the product, is what determines whether the opening stays dry.
What a Correct Installation Actually Involves
Sill Pan and Drainage Path
Every new-construction window opening should have a sloped or drainable sill pan beneath it so that any water that gets past the window — and some always will, over time — has a clear path back out to the exterior instead of pooling on the rough sill and soaking into framing.
Flashing Sequence
Flashing tape and/or building paper needs to be layered in the correct shingle-style order: sill first, then jambs, then head, with each layer overlapping the one below it so water is always directed outward and down, never trapped behind a layer above it. On a home exposed to driving rain off the water, a reversed or skipped layer is exactly the kind of detail that shows up as a leak a year or two later.
Nail Fin Attachment and WRB Integration
The nailing flange gets fastened per the window manufacturer's schedule, and the WRB (housewrap or building paper) is integrated over the flange — not just taped over the top of it — so the drainage plane stays continuous from the roof line down to the foundation.
Sealant and Backer Rod
Exterior sealant is a backup to good flashing, not a substitute for it. We use sealants rated for exposure and temperature swings, and we don't rely on caulk alone to do the job that flashing and a sill pan should already be doing.
Interior Air Sealing and Insulation
The gap between the window frame and the rough opening gets sealed for air infiltration on the interior side too — low-expansion foam or backer rod and sealant, not stuffed fiberglass, which does little to stop air movement and can hold moisture against the frame.
Frame and Glass Considerations for a Coastal Whatcom County Build
Material choice matters less than installation quality, but it's still worth understanding the trade-offs for a home that will see salt air and long wet stretches.
| Frame Material | Coastal / Moisture Behavior | Maintenance |
|---|---|---|
| Vinyl | Won't corrode or rot; performs well against salt air and moisture | Low — occasional cleaning |
| Fiberglass | Very stable dimensionally, holds up well in coastal exposure | Low |
| Aluminum-clad wood | Good exterior protection but relies on the cladding and seals staying intact; any breach exposes wood to moisture | Moderate — watch seams and finish over time |
| Bare wood | Attractive but the most exposed to the region's rain and humidity; requires diligent finishing and upkeep | Higher — periodic refinishing |
| Uncoated or lower-grade aluminum hardware/trim | More susceptible to corrosion from salt-laden air over years of exposure | Moderate to higher near the water |
We'll talk through frame options honestly based on your budget, the home's exposure, and how much long-term maintenance you're willing to take on — there isn't one universally "correct" answer, but there are trade-offs worth knowing before you commit for a whole house.
How We Work With Builders and Homeowners on New Construction
- Plan review. We look at window schedules and rough opening sizes before framing is finalized, so there are no surprises when windows arrive.
- Site coordination. We work directly with your general contractor or framing crew on timing, so windows go in at the right point in the WRB and flashing sequence — not before the wall is ready, not so late that it holds up siding.
- Installation. Sill pan, flashing, fastening, and sealant work performed to a consistent standard on every opening — not a mix of shortcuts depending on how the schedule is running that day.
- Walkthrough. Before siding closes the wall up, openings can be reviewed while flashing details are still visible, which is the only point in the build when a mistake is cheap to fix.
Because we also do exterior siding and cladding work, we think about how the window opening will interact with whatever's going over it — a detail that's easy to miss when window installation and siding are handled by two crews that never talk to each other.
Mistakes We See on Coastal New Construction
- Sealant used as the primary water barrier instead of a backup to proper flashing
- Flashing layered in the wrong order, directing water inward instead of out
- No sill pan, leaving the rough sill exposed to any water that gets past the window
- WRB taped over the nailing fin instead of integrated with it, breaking the drainage plane
- Interior gaps packed with fiberglass insulation instead of properly air-sealed
- Generic installation details applied without adjusting for a wall's actual sun and rain exposure
Most of these aren't visible once siding goes on. They surface years later as a soft spot below a window, a musty smell in a wall cavity, or peeling interior paint near a sill — problems that trace back to a single missed step during the original install.
Cost Factors for New-Construction Window Installation
| Factor | How It Affects Cost |
|---|---|
| Number and size of openings | More and larger windows mean more flashing, sealant, and labor hours |
| Frame material | Vinyl and fiberglass are generally more budget-friendly than clad wood or premium wood units |
| Wall height and access | Second-story and hard-to-reach openings take longer and may need staging or lift equipment |
| Exposure of the wall | Walls facing prevailing wind and rain often warrant extra care in flashing detail, adding some labor time |
| Scheduling coordination | Working around a tight framing schedule can add cost versus a flexible timeline |
We'll give you a straightforward estimate based on your actual window schedule and site conditions rather than a generic per-window rate that doesn't reflect the real job.
A Quick Checklist If You're Managing a Build in the Blaine Area
- Confirm your window installer will coordinate directly with the framing/siding crew on sequencing
- Ask whether sill pans are standard practice on every opening, not just some
- Confirm the flashing sequence integrates with your specific WRB product, not a generic method
- Choose frame materials with your home's actual sun and rain exposure in mind, not just aesthetics
- Request a walkthrough of flashing details before siding closes the wall
- Keep documentation of what was installed and how, for warranty and future resale purposes
Why a Crew That Already Works This Area Is Worth It
A contractor who regularly works Birch Bay and Blaine already understands how homes here get tested by weather — the direction storms tend to come from, how long walls stay damp in the wet season, and what salt exposure does to hardware and finishes over time. That's not something you can fully substitute with a generic installation manual, because the manual doesn't know which wall of your specific home takes the worst of the rain.
We're a local exterior company, not a crew passing through Whatcom County on a regional installation contract. If something about your build needs a second look after the walls are closed up, we're the same company you can call — not a name from out of the area you're trying to track down a year later.
If you're planning new construction in or near Blaine and want windows installed right the first time, we're happy to walk your plans, talk through frame options, and give you a free, no-pressure estimate — just fill out the form below.