 Birch Bay Exterior
 New-Construction Windows for Lummi Island: Built for the Island, Not Just the Blueprint
Lummi Island sits out in the salt air and open water exposure that defines this part of Whatcom County, and that changes what a new-construction window job actually needs to hold up over time. A window that performs fine in a sheltered inland lot can fail early out here — not because the window itself is bad, but because the installation didn't account for the wind-driven rain, the salt-laden air off the water, and the long stretch of damp, moss-friendly months that Western Washington puts every exterior assembly through. We install new-construction windows on Lummi Island as a Birch Bay-based crew who already builds for these conditions across the surrounding coastline, and that local familiarity shows up in the details — flashing sequence, fastener choice, sill design — that separate a window that lasts twenty-plus years from one that starts leaking behind the trim in five.
"New construction" windows are a distinct category from replacement windows. They install with a nailing fin directly into the rough opening before siding goes on, which means the window and the wall's water-resistive barrier get integrated as one system. Get that integration right during the build and the window disappears as a maintenance item for decades. Get it wrong — even with a premium window — and water finds its way behind the cladding where nobody sees it until there's rot.
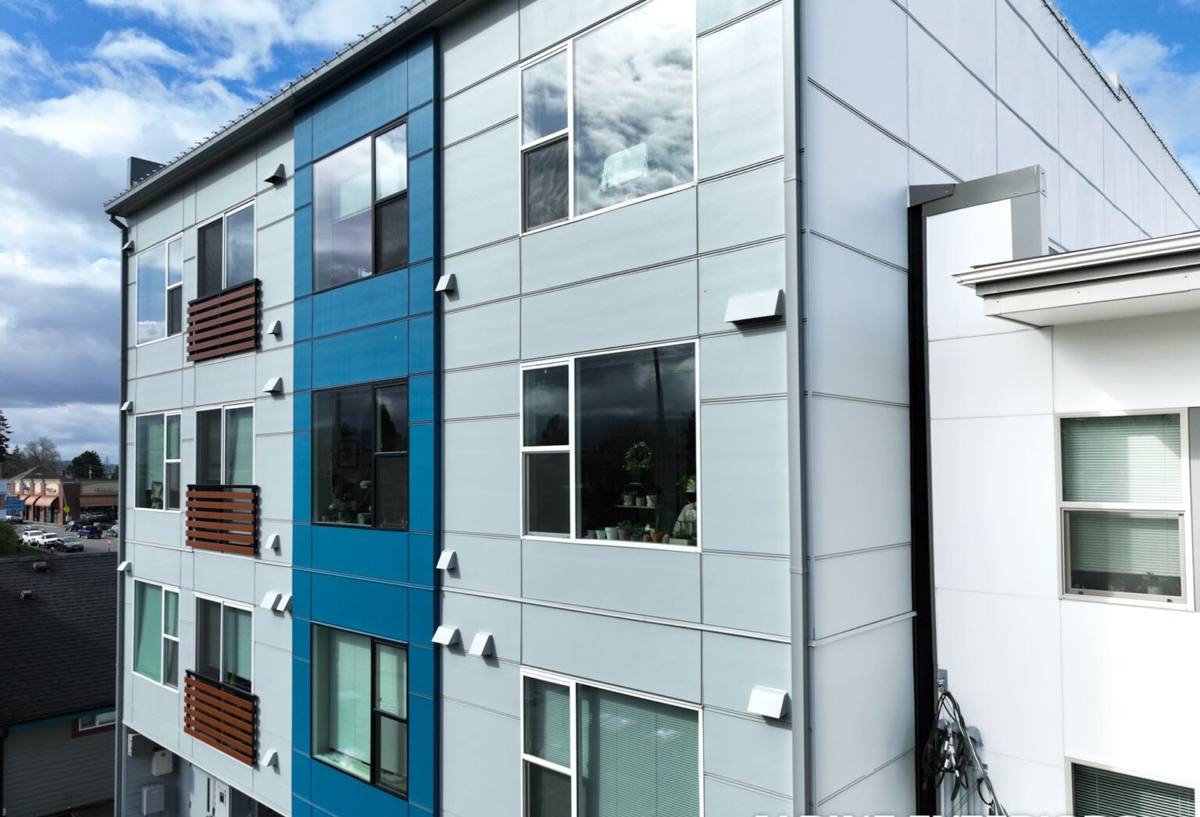
What Lummi Island's Climate Actually Does to a Window Installation
Three conditions matter most for new-construction window work out here, and they interact with each other:
Salt air and corrosion
Airborne salt accelerates corrosion on anything metal — hardware, fasteners, cladding-to-frame connections, and unprotected flashing. It doesn't take a beachfront lot for this to matter; salt air travels well inland on a marine breeze, and Lummi Island's shoreline exposure means most of the island gets some degree of it. Fastener and flashing material choice needs to account for this from day one, not get discovered as a problem later.
Driving rain
Storms here don't just fall straight down — wind pushes rain sideways and up under trim, sills, and any gap in the water-resistive barrier that a normal downpour would never reach. New-construction installation has to assume wind-driven water will hit the window from angles a fair-weather install wouldn't consider, which is why sill pan flashing and proper head flashing lap sequence aren't optional details — they're the difference between a dry wall cavity and a hidden leak.
Moss season
Western Washington's long damp season keeps north-facing and shaded surfaces wet for extended stretches, and moss and algae growth follows. Around windows, that moisture retention shows up most at sills, trim returns, and anywhere water can pool instead of shedding. Sill pitch and drainage detailing during installation determine whether a window sheds water cleanly or holds onto it long enough to feed moss growth and slowly degrade trim and sealant joints.
What a Correct New-Construction Window Install Actually Involves
A new-construction window installed correctly for this climate follows a specific sequence — skipping or shortcutting any step is where problems start:
- Rough opening checked for square, level, and correct dimension before the window ever arrives on site
- Sill pan flashing installed first, sloped to drain outward, so any water that gets past the window has somewhere to go
- Window set, shimmed, and fastened per the manufacturer's specified fastening schedule — not "close enough"
- Nailing fin integrated with the water-resistive barrier using a proper shingle-lap sequence: sill first, then jambs, then head, each layer overlapping the one below
- Head flashing installed last, lapping over the WRB above the window so water is directed out and down, never into the wall cavity
- Corrosion-resistant fasteners used throughout, particularly at any exposed metal-to-metal connection
- Interior air-sealing at the rough opening perimeter, separate from the exterior water management, to control drafts and condensation
- Exterior sealant applied only where the manufacturer's instructions call for it — sealing the wrong joint can trap water instead of keeping it out
Every one of those steps exists because of a specific failure mode we've seen happen when it's skipped. The sill pan alone prevents the most common source of hidden rot in new construction — water that gets past the window unit itself with nowhere to drain.
Choosing Window Materials for Salt Air and Marine Exposure
Frame material matters more on Lummi Island than it does further inland, mainly because of long-term corrosion and moisture behavior rather than looks. Here's how the common options hold up under these specific conditions:
| Frame Material | Salt Air / Corrosion | Moisture & Moss Exposure | Maintenance Burden |
|---|---|---|---|
| Vinyl | Does not corrode; hardware and screws are the exposure point | Handles damp exposure well; won't rot | Low — occasional cleaning |
| Fiberglass | Very stable, minimal corrosion risk | Excellent moisture resistance, low expansion/contraction | Low |
| Aluminum-clad wood | Cladding protects wood but seams and fasteners need corrosion-rated hardware | Good if sealed and flashed correctly; wood core is the vulnerability | Moderate — seams and sealant need periodic checks |
| Bare wood | No inherent corrosion issue, but finish maintenance is constant | Highest vulnerability to rot if finish fails or water gets behind trim | High — regular refinishing required |
We don't push one material as universally "correct" — it depends on the home's design, budget, and how exposed the specific elevation is. What we do insist on, regardless of frame material, is corrosion-resistant fastening hardware and a flashing detail that doesn't rely on the frame material to compensate for a shortcut in the installation.
Our Process for Lummi Island New-Construction Projects
New construction on Lummi Island comes with a logistics layer that inland jobs don't — the island is ferry-served, which means material delivery and crew scheduling both need to be planned around ferry timing rather than treated as an afterthought. Here's how we handle it:
- Site visit and rough opening review — we confirm openings match window schedule dimensions before ordering, since a mid-project correction on an island job costs real time.
- Material staging — windows, flashing, and fastening hardware get staged and confirmed complete before the crew crosses over, so the job isn't waiting on a missing part.
- Coordinated scheduling with the builder or GC — we work around the framing and WRB timeline so windows go in at the right point in the build sequence, not before the opening is ready or after siding has already closed in the flashing laps.
- Installation following manufacturer flashing instructions — every window gets the same sill-pan-first, shingle-lap sequence regardless of brand, because that sequence is what keeps water out, not the logo on the frame.
- Final walkthrough — operation, seal, and trim check before we call it done.
Why a Crew That Already Works Lummi Island Matters Here
Anyone can install a window. The difference on an island job is in the details that don't show up until later — knowing that a shipment delay means planning an extra day of buffer, knowing which elevations on this stretch of coastline take the worst of the wind-driven rain, and knowing that Whatcom County's permitting and energy code requirements for new construction apply the same way here as anywhere else in the county, so there's no shortcut to skip. A crew that's already done this work nearby isn't guessing at any of that — it's routine.
There's also a simple scheduling reality: a crew based in Birch Bay that regularly works this area can plan trips efficiently instead of treating a Lummi Island job as a special, one-off logistics puzzle every time. That keeps the project moving on the builder's timeline instead of around ours.
A Few Mistakes We See in New-Construction Window Installs
Most window problems on new builds don't come from a bad window. They come from installation shortcuts that don't show up until a wet season or two later:
- Skipping sill pan flashing because "the window has its own weep system" — the two are not a substitute for each other
- Fastening the nailing fin with whatever screws were on hand instead of corrosion-rated hardware
- Sealing the top of the nailing fin to the WRB, which traps any water that gets in instead of letting it drain out
- Installing windows before the rough opening is verified square, leading to operation issues discovered after the wall is closed up
- Rushing the shingle-lap sequence because siding crews are waiting, which is exactly how hidden leaks start
Maintaining New-Construction Windows on Lummi Island After Install
A correctly installed window still needs some basic upkeep in this climate to stay trouble-free:
- Rinse salt residue off frames and glass periodically, especially on water-facing elevations
- Check exterior sealant joints annually for cracking or separation, particularly after winter storms
- Keep sills and trim clear of moss and debris buildup so water can shed instead of pooling
- Inspect weep holes on operable windows to make sure they haven't been painted or caulked shut
- Watch for any soft spots in trim or siding near window openings, which can signal a flashing issue worth catching early
If you're building new on Lummi Island and want windows installed the way this climate actually requires — not just to a generic spec sheet — we're glad to walk the plans with you and put together a free, no-pressure estimate. There's a form below whenever you're ready.