 Birch Bay Exterior
 Building New in Custer or Birch Bay? Here's What Your Windows Are Up Against
If you're framing a new home in Custer or along the Birch Bay shoreline, you're building in one of the more demanding window environments in Whatcom County. Salt-laden air off the bay and the Strait of Georgia works on hardware and finishes year-round. Driving rain off Pacific storm systems pushes water sideways into rough openings, not just straight down. And a long, gray moss season keeps north- and west-facing walls damp for months at a stretch, which punishes any flashing detail that was done "close enough" instead of correctly.
New construction is the one point in a home's life where getting windows right is actually cheap. Every mistake made now — a missed sill pan, tape run in the wrong order, a fin fastened before the weather-resistive barrier was lapped properly — gets buried behind siding and drywall, where it won't show up as a problem for years. By then it's a tear-out, not an adjustment. We install new-construction windows in Custer and Birch Bay the way they need to be done for this climate, not the way a generic install guide describes for a drier region.
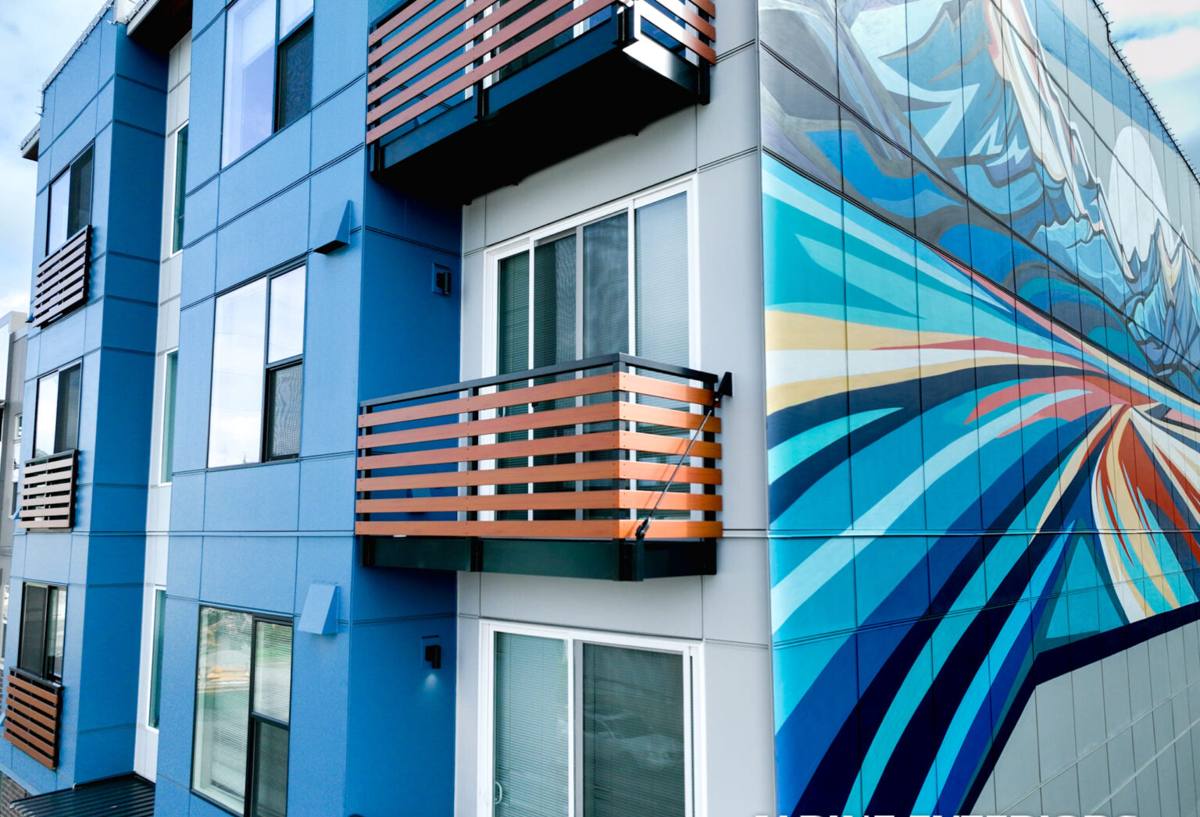
New-Construction vs. Replacement: Why the Installation Method Actually Matters
New-construction windows have a nailing fin (or flange) built into the frame that fastens directly to the sheathing before siding goes on. That fin, combined with correctly sequenced weather-resistive barrier and flashing tape, is what actually keeps water out of the wall — the window itself is only half the system. Replacement or "pocket" windows, by contrast, get inserted into an existing frame and rely on the old opening's flashing, which doesn't apply to a home that's still open to the studs.
Because you're building new, you get the full system: sill pan, fin, tape, and WRB all integrated in the correct order, with no old construction to work around. That's the advantage — but it only pays off if the installer treats the sequencing as seriously as the window itself. A window set square and plumb but flashed out of order will leak just as reliably as a cheap window installed perfectly.
Timing in the Build Schedule
Windows typically go in after sheathing and WRB are up, before siding starts. That window (no pun intended) in the schedule is short, and it's the one place a framing crew, a window installer, and a siding crew all have to hand off cleanly to one another without anyone assuming "someone else already flashed that."
Choosing Window Materials and Glass for a Salt-Air, High-Rain Climate
Not every window line performs the same way two miles from open water. Hardware corrosion, frame expansion in temperature swings, and long-term moisture exposure all factor differently here than they would inland or in a drier state.
| Frame Material | Salt-Air / Moisture Performance | Maintenance | Typical Cost Tier |
|---|---|---|---|
| Vinyl | Good — won't corrode or rot; check hardware finish quality | Low | Lower |
| Fiberglass | Very good — stable in temperature swings, resists moisture-driven warping | Low | Mid to Higher |
| Aluminum-clad wood | Good exterior protection if cladding and flashing are correct; wood core still needs a sound moisture barrier | Moderate | Higher |
| Bare/painted wood | Weakest choice this close to salt air and driving rain without diligent upkeep | High | Varies |
Hardware matters as much as frame material — locks, hinges, and screen clips in lower-grade finishes can start showing corrosion within a few seasons this close to the bay. We steer clients toward corrosion-resistant hardware regardless of frame material, and toward glass packages suited to our climate: low-E coatings tuned for a heating-dominated, mild-temperature region rather than a hot, sun-heavy one, since maximizing solar gain matters more here than blocking it.
How We Sequence a New-Construction Window Install
The install order is where most long-term leaks originate, and it's also the easiest thing to verify if you know what to ask for.
- Rough opening checked for square, level, and correct dimensions before the window ever arrives on site
- Sill pan flashing installed first, sloped to drain outward, not flat or reverse-sloped
- Weather-resistive barrier prepped and cut so it laps correctly over the flanges once the window is set
- Window set plumb, level, and square, then fastened per the manufacturer's fin nailing schedule — not just "enough nails to hold it"
- Flashing tape applied in proper shingle-lap order: sill, jambs, then head, so water always sheds outward and down
- Head flashing or drip cap installed above the window to break the path of driving rain
- Perimeter gap insulated with a low-expansion foam or backer rod, not packed solid, to avoid bowing the frame
- Interior and exterior trim set after flashing is verified, not before
Skipping or reordering any one of those steps is usually invisible at final walkthrough — the window looks fine, opens and closes fine, and the problem doesn't show up until the first hard winter of driving rain finds the gap.
Flashing and Water Management: The Detail That Prevents Callbacks
Whatcom County code sets a minimum standard for window flashing, but minimum code isn't really built for wind-driven coastal rain hitting a wall sideways for hours at a time. We flash new-construction windows with full sill pans and properly lapped tape as standard practice here, not as an upgrade, because that's what actually holds up against how rain behaves near Birch Bay.
This is also where moss season connects back to window performance. Moss and algae thrive on shaded, chronically damp wall sections — usually north- and west-facing elevations. If water gets trapped behind siding because a window wasn't flashed correctly, that section of wall stays wetter longer, which accelerates both moss growth on the surface and rot behind it. Correct flashing isn't just about the window leaking directly into the house; it's about keeping the whole wall assembly dry enough that moss and decay don't get a foothold around the opening.
Working With Your Builder or General Contractor
On a new build, window installation sits in the middle of a tight sequence — framing, sheathing, WRB, windows, then siding. We coordinate directly with builders and GCs on rough opening tolerances, delivery timing, and flashing responsibility so nothing sits open to weather longer than it has to, and so there's no ambiguity about who flashed what. On multi-trade job sites, that handoff is where gaps in accountability happen; we'd rather confirm details up front with your GC than discover a mismatch after siding is already on.
If you're managing the build yourself, we can work directly from the architectural window schedule and coordinate delivery and install timing around your framing progress.
Local Code and Energy Considerations
Washington's state energy code sets minimum U-factor requirements for new construction windows, and those requirements are stricter than what many builders installed a decade ago. New builds also need to meet egress requirements for bedroom windows — minimum opening size and sill height — which is worth confirming at the design stage rather than after a window is already ordered. We size and spec windows to meet current Whatcom County permitting and inspection requirements as a baseline, then talk through where it makes sense to go beyond minimum, particularly on glass performance for a climate that's more about steady mild dampness than temperature extremes.
Why a Crew That Already Works Custer and Birch Bay Matters
Custer sits slightly inland from the water compared to homes right along the Birch Bay shoreline, and that difference matters more than it might seem. Wind exposure, salt drift, and how hard driving rain hits a given wall all shift somewhat between an open farmland lot and a waterfront-facing build. A crew that installs windows across both areas regularly gets a feel for which elevations need extra attention on a given property, rather than treating every install the same way a generic checklist would.
Local experience also means fewer surprises with inspectors, permitting timelines, and the handful of things that are just different about building in this corner of Whatcom County versus building fifty miles inland. We're not learning the region on your project.
Get a Straight Answer for Your Build
If you're framing a new home in Custer or Birch Bay and want windows specified and installed correctly the first time, we're glad to walk your plans or your job site and give you a clear, no-pressure estimate — no inflated scope, no upsell pressure, just what your build actually needs.