 Birch Bay Exterior
 New-Construction Windows for Cottonwood Beach Builds
Cottonwood Beach sits close enough to the water that every building decision has to account for salt air, wind-driven rain, and the long damp stretch of the year when moss and algae take hold on anything that stays wet. If you're building new or adding on in this part of Birch Bay, the windows you choose and how they're installed matter as much as the brand name on the label. A window that's rated well but installed loosely will leak, fog, or corrode years before it should out here. We install new-construction windows for builders and homeowners in this neighborhood, and this page covers what a correct job actually involves — not just the sales pitch on the glass.
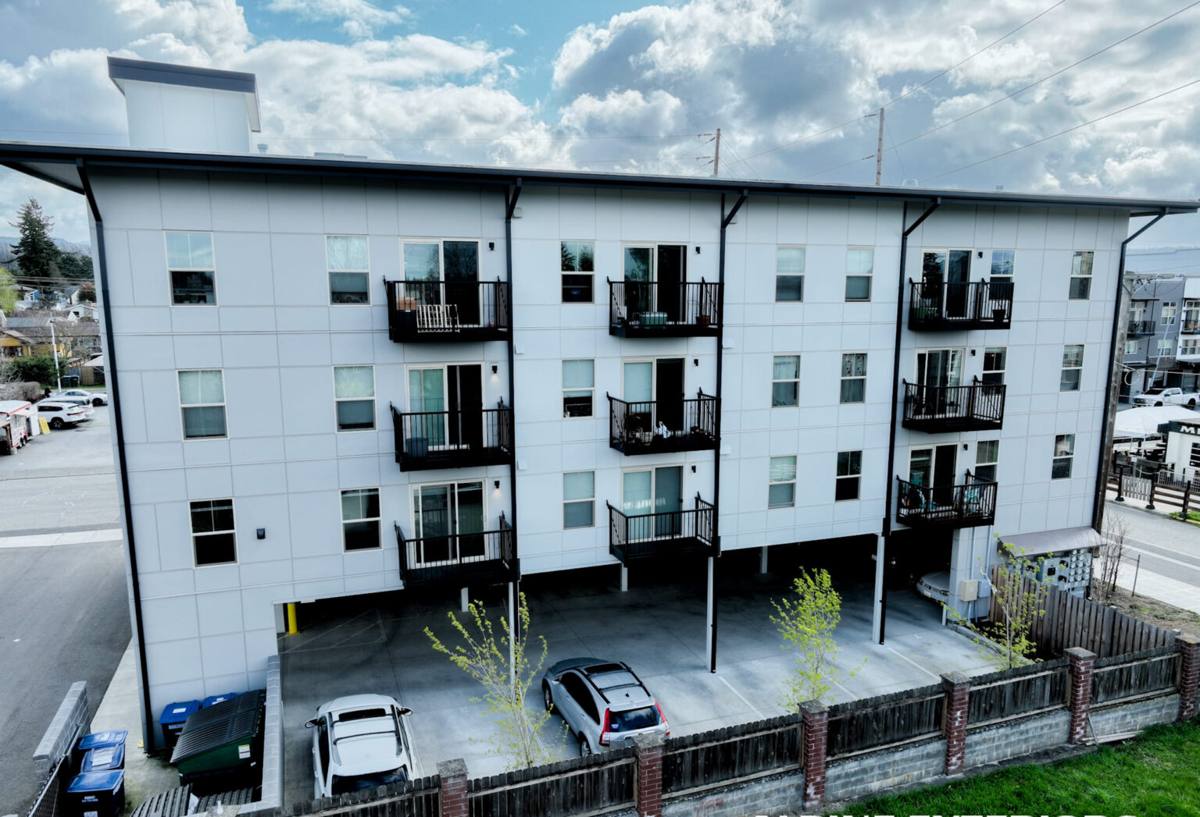
New Construction vs. Replacement — Why It's a Different Job
New-construction windows have a nailing fin (sometimes called a flange) around the perimeter of the frame. That fin gets integrated directly into the wall's weather-resistive barrier (WRB) and flashing system before siding goes on. This is different from a replacement or "pocket" window, which gets inserted into an existing opening with the old exterior trim staying in place. New construction gives us access to the rough opening, the sheathing, and the WRB — which means we can build a proper drainage plane from scratch instead of working around what's already there.
That access is an advantage on a coastal lot like Cottonwood Beach. It means the flashing details that keep wind-driven rain out of the wall cavity get done right the first time, rather than patched in later.
What This Means During a Build
- We coordinate with the framer or general contractor on rough opening sizes before windows are ordered, so nothing gets re-cut on site.
- Windows typically go in after the WRB (house wrap or equivalent) is up but before siding starts.
- We work off the plan set for window schedule, egress requirements, and any energy-code glazing targets tied to the permit.
What Cottonwood Beach's Exposure Actually Demands
Whatcom County's building code sets a baseline, but Cottonwood Beach's specific exposure — open water nearby, prevailing wind, and a long wet season — pushes us to build in extra margin in a few specific places.
Salt Air and Hardware Corrosion
Salt-laden air accelerates corrosion on anything ferrous — cheap fasteners, uncoated hinges, and low-grade cladding fasteners. On new-construction windows near the water, we pay attention to fastener material and cladding type, and we flag hardware that's going to pit or streak within a few seasons so it can be swapped for something rated for coastal exposure before it's buried behind trim.
Wind-Driven Rain
Rain that comes in sideways doesn't behave like rain that falls straight down. It gets pushed up under sills and into any gap in the flashing sequence that a inland installer might not think twice about. New-construction framing lets us build a sloped sill pan and lap every flashing layer correctly — WRB, sill pan, side flashing, head flashing — so water is always directed out and down, never trapped against the sheathing.
Moss and Persistent Dampness
The long stretch of overcast, damp weather common to this part of Birch Bay is exactly what moss and algae need to establish themselves. Around windows, that shows up as green streaking on sills and trim, and over time it holds moisture against the wood or cladding longer than it should sit. Sill design, drip caps, and drainage gaps behind trim all reduce how long surfaces stay wet after a storm — which is the real lever against moss, more than any coating.
What a Correct Installation Looks Like, Step by Step
There's no shortcut version of this that holds up long-term in a coastal microclimate. The sequence matters more than any single product choice.
- Rough opening check. Confirm square, level, and correct dimensions against the window schedule before anything gets set.
- Sill pan flashing. A sloped, back-dammed sill pan so any water that gets past the window has a path back outside instead of into the wall.
- WRB integration. House wrap or building paper is lapped correctly around the opening before the window goes in, following a shingle-style sequence so upper layers always overlap lower ones.
- Window set and shim. The unit is set plumb, level, and square, shimmed at the correct points to avoid frame distortion, then fastened per the manufacturer's schedule.
- Flashing tape at jambs and head. Self-adhered flashing tape over the nailing fin, integrated with the WRB in the correct shingle-lap order — never caulk alone as a substitute.
- Insulation and air sealing. Low-expansion foam or backer rod and sealant around the perimeter gap, avoiding over-packing that can bow the frame.
- Exterior trim and drip cap. Trim and head flashing installed to shed water away from the top of the unit, which is the detail most responsible for keeping moss and staining off the sill below.
- Interior finish seal. Final interior sealant and trim once the wall is closed up, checked for consistent reveal and operation.
Choosing Frame Materials for This Climate
There's no single "right" frame material for every project — the choice depends on budget, maintenance appetite, and how exposed the elevation is to wind and salt. Here's how the common options stack up for a coastal build in this area.
| Frame Material | Coastal Durability | Maintenance | Typical Trade-Off |
|---|---|---|---|
| Vinyl | Good — resists corrosion, no paint needed | Low — occasional cleaning | Fewer color/finish options; frames can flex on very large units |
| Fiberglass | Very good — stable in temperature swings, resists moisture uptake | Low | Higher upfront cost than vinyl |
| Wood-clad (exterior clad) | Good on the clad side; interior wood needs protection from any moisture intrusion | Moderate — relies on the cladding staying intact | Any breach in cladding can lead to hidden wood damage; installation precision matters more |
| Aluminum | Fair — prone to corrosion near salt air unless properly coated/anodized | Moderate to high | Thermal performance generally lower unless thermally broken |
For most Cottonwood Beach new-construction projects we lean toward vinyl or fiberglass on directly exposed elevations, simply because they hold up with the least ongoing maintenance in salt air. Wood-clad units still have their place on protected elevations where the look matters and the cladding detail is done correctly — it's a matter of matching the product to the exposure, not one material being universally better.
Glass and Performance Ratings Worth Asking About
New-construction windows in this area should carry NFRC ratings appropriate for a marine climate — a solid U-factor for heat retention through our wet, cool winters, and a design pressure (DP) rating that accounts for wind exposure on an open coastal lot. We'll walk through what rating makes sense for your specific elevation and exposure rather than defaulting to a one-size number, since a window facing open water needs a different DP rating than one on a sheltered wall.
How We Work With Builders and Homeowners
On a new build, timing is everything — windows arriving late or sized wrong can hold up the whole framing-to-dry-in schedule. We coordinate directly with the general contractor or framer on:
- Confirming rough openings against the window schedule before ordering, to avoid field modifications
- Scheduling install to land after WRB is up and before siding starts
- Matching flashing sequence to whatever siding system is planned, since lap order changes slightly between products
- Being available for the county inspection tied to the window rough-in, if one is required on the permit
If you're an owner-builder or working without a GC, we can also walk the rough openings with you directly and flag anything that needs adjustment before the windows show up.
Why a Crew That Already Works Cottonwood Beach Matters
A window contractor who mostly works inland doesn't think about salt air corrosion or wind-driven rain the same way — because they don't have to, most of the year. Working regularly in Birch Bay and Cottonwood Beach means we've already seen how sills stain, where moss establishes first, and which flashing shortcuts show up as leaks two or three winters later. That's not a marketing point — it changes real decisions on site, like where we add an extra course of flashing tape or which elevations get the more corrosion-resistant hardware without being asked.
Maintenance Expectations After Install
Even a correctly installed window benefits from a little seasonal attention in this climate:
- Rinse salt residue and grime off frames and glass periodically, especially on wind-exposed elevations
- Check exterior sealant joints annually for cracking or separation, particularly after a hard winter
- Keep gutters and downspouts clear so runoff isn't sheeting across window heads
- Wipe down sills after prolonged damp stretches to slow moss and algae buildup
None of this is heavy maintenance — it's the kind of upkeep that extends the life of a correctly installed window well past what a neglected one will manage.
Get a Free, No-Pressure Estimate
If you're planning new construction or an addition in Cottonwood Beach, we're glad to walk the plans, talk through window and flashing details for your specific elevation, and give you a straightforward estimate — no pressure, no upsell. Use the form below to get started.