 Birch Bay Exterior
 Windows in California Creek Face a Different Kind of Wear
California Creek sits close enough to the water that homes here take on a steady dose of salt-laden air, wind-driven rain, and the long gray stretch of moss season that defines this part of Whatcom County. Windows are one of the first things on a house to show that wear. Seals give out early, hardware corrodes, frames swell and stick, and moisture finds its way into places it was never supposed to reach. A window installation done for a house forty miles inland doesn't need to account for any of that. A window installation in California Creek does.
This page covers what actually matters when replacing or installing windows in this specific area: what the climate does to different materials over time, what a correct installation looks like from flashing to final seal, and what to expect when you work with a crew that already knows this neighborhood's conditions instead of learning them on your house.
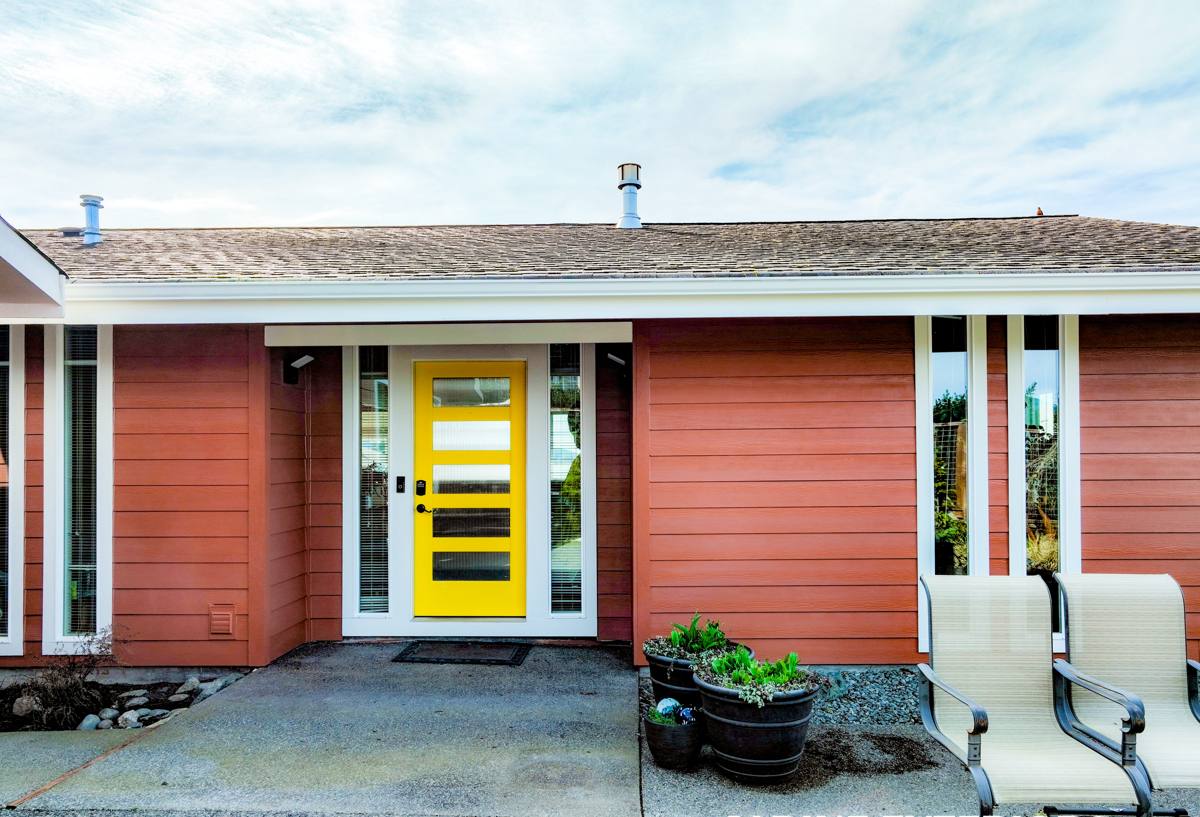
What Salt Air, Rain, and Moss Season Do to Windows
Three climate factors drive almost every window problem we see in this part of Birch Bay:
Salt Air
Airborne salt accelerates corrosion on hardware, screws, and metal components. Cheaper hinges, cranks, and locking mechanisms can start pitting or seizing years before they would in a drier, inland location. It also breaks down some sealants and finishes faster than manufacturers' standard warranty testing assumes, since that testing rarely simulates a coastal environment like this one.
Driving Rain
Wind off the water doesn't just drop rain straight down — it pushes it sideways into siding and window openings. A window that would stay dry in a calm rain can take on water at the same opening during a windy one. This is why flashing detail and drainage planes matter more here than the window unit itself. A great window installed with poor flashing will still leak.
Moss and Prolonged Dampness
Long stretches of overcast, damp weather keep moisture sitting against exterior surfaces longer than a sunnier climate would. Around windows, that shows up as moss and algae growth on sills and trim, slow-drying wood that eventually softens, and paint or caulk failing faster than its rated lifespan. Once moisture gets trapped behind a poorly sealed window, it often stays trapped, since there's rarely a stretch of dry weather long enough to let it fully evaporate out.
None of this means windows near the water are doomed to fail — it means the installation has to be built for these conditions from the start, not treated the same as a job across the county.
Signs a California Creek Home Needs Window Work
- Visible fogging or moisture between the panes of a double- or triple-pane window (a failed seal)
- Frames that feel soft, spongy, or discolored, especially at the bottom corners
- Persistent moss, algae, or black staining on sills that keeps returning after cleaning
- Drafts or a noticeable temperature difference near the window even when it's closed
- Hardware that's stiff, corroded, or won't latch fully
- Visible daylight or gaps around the frame from outside
- Peeling paint or failing caulk lines around the exterior trim
Any one of these can be a minor fix. Several together, especially on a window that's original to the house or more than 20 years old, usually mean replacement will cost less over time than continuing to patch and paint around a failing unit.
What a Correct Window Installation Actually Involves
The window unit itself is only part of the job. In a location like this, the installation detailing around it is what determines whether the window performs for the next 20-plus years or starts leaking in year three. A correct installation includes:
Opening Prep and Inspection
Before a new window goes in, the opening gets checked for rot, soft framing, or existing water damage. Any compromised wood gets addressed at this stage — installing a new window into a damaged opening just seals the problem inside the wall.
Flashing and Drainage
Proper flashing directs water that reaches the window opening back out and away from the wall assembly, rather than letting it pool or work its way inward. This is the single most common point of failure we find in older or poorly done installations, and it's invisible once the trim goes back on — which is exactly why it has to be done right the first time.
Sealing and Insulation
The gap between the window frame and the rough opening needs to be sealed and insulated correctly — not overpacked with expanding foam, which can bow the frame, and not left with gaps that let air and moisture through.
Exterior Weatherproofing
Caulking, trim, and finish work on the exterior need materials rated for sustained damp exposure, applied in conditions where they'll actually cure properly. Caulk applied over damp wood or in the wrong temperature range fails early, which is a common cause of "new" windows that start leaking within a couple of years.
Frame Material Considerations for a Coastal-Influenced Property
There's no single "best" window material for every situation — it depends on your home's exposure, your maintenance preferences, and your budget. Here's how the common options generally hold up under the salt air and moisture conditions typical of this area:
| Material | How It Handles Salt Air & Moisture | Maintenance |
|---|---|---|
| Vinyl | Good corrosion resistance since there's little exposed metal; performs well with correct installation | Low — occasional cleaning |
| Fiberglass | Very stable in temperature and moisture swings; holds up well long-term in coastal conditions | Low |
| Aluminum | Prone to corrosion and pitting near salt air unless it's a marine-grade or well-coated product | Moderate to high |
| Wood | Attractive but vulnerable to prolonged dampness and moss growth without diligent upkeep | High — regular painting/sealing |
| Wood-clad (exterior clad, wood interior) | Exterior cladding protects against the elements while keeping a wood look inside; a common middle-ground choice here | Low to moderate |
We'll walk through which option fits your specific home and exposure during your estimate — the right call for a wall that catches direct wind and rain off the water can be different from the right call for a more sheltered side of the same house.
Our Installation Process
- On-site assessment. We look at each window opening individually, check for existing damage, and discuss what's driving the replacement — comfort, appearance, energy loss, or visible failure.
- Material and product selection. We go over frame material, glass package, and style options suited to your home's exposure and your budget, without pushing a single product line as the answer for every wall.
- Opening prep. Any rot, soft wood, or prior water damage gets repaired before a new window goes in.
- Removal and installation. Old units come out carefully to avoid unnecessary damage to surrounding trim and siding; new units go in plumb, level, and properly fastened.
- Flashing and sealing. This is done to shed water outward, not just to look finished from the outside.
- Interior and exterior finish work. Trim, caulking, and insulation are completed and the work area is left clean.
- Final walkthrough. We check operation, seals, and finish work with you before calling the job done.
Why Local Experience in This Area Matters
A crew that regularly works in Birch Bay and the surrounding Whatcom County coastline already understands which walls on a given lot take the worst of the wind-driven rain, how quickly moss reestablishes itself on north-facing trim, and which detailing shortcuts show up as callbacks two winters later. That's not something you learn from a spec sheet — it comes from doing the work repeatedly in these exact conditions and seeing how different approaches actually hold up over time.
It also means we're not guessing about product performance in this climate. We can talk through real trade-offs between frame materials, glass packages, and installation details based on how they perform locally, rather than relying only on manufacturer claims written for a national market.
Questions to Ask Before Hiring for a Window Job Near the Water
- Will you inspect the framing and address rot before installing, or install over existing damage?
- What flashing method do you use, and why?
- Are you licensed and insured to work in Washington state?
- What's covered under warranty — both the product warranty and your own labor warranty?
- Do you have experience installing in exposed, coastal-adjacent conditions specifically, not just general residential work?
- What's the realistic timeline given weather windows in this area?
Any contractor who can't answer these clearly, or who rushes past the flashing and prep questions to talk only about the window brand, is worth a second look before you sign anything.
Caring for New Windows After Installation
A correct installation does most of the work, but a little seasonal attention extends the life of any window in this climate. Rinse sills and tracks periodically to keep salt residue and organic buildup from accumulating, keep an eye on caulk lines for cracking as they age, and clear moss or algae from sills and trim before it has a chance to hold moisture against the surface. None of this is heavy maintenance — it's the difference between windows that look and perform well for decades and ones that start showing their age early.
If you're seeing drafts, moisture, or wear on your windows, or you're planning ahead for a home in California Creek, we're happy to take a look and walk you through honest options for your specific exposure and budget. Reach out using the form below for a free, no-pressure estimate.