 Birch Bay Exterior
 Windows Built for California Creek's Coastal Conditions
California Creek sits close enough to the water that homes here take a different kind of weathering than houses just a few miles inland. Salt-laden air moves through the area steadily, driving rain comes in sideways during winter storms, and the shaded, damp conditions common along Whatcom County's coastline keep moss and algae active for much of the year. Windows installed without that reality in mind tend to show problems early — failed seals, stuck sashes, corroded hardware, and frames that stay damp long after the rain stops. Custom windows done right for this specific area account for all of it, not just the opening size.
"Custom" here doesn't mean unusual shapes or high-end finishes, though we do those too. It means windows sized, specified, and installed to match your home's actual openings, orientation, and exposure — instead of forcing a stock size into a rough opening that was never square to begin with. On older California Creek homes especially, that distinction matters a lot.
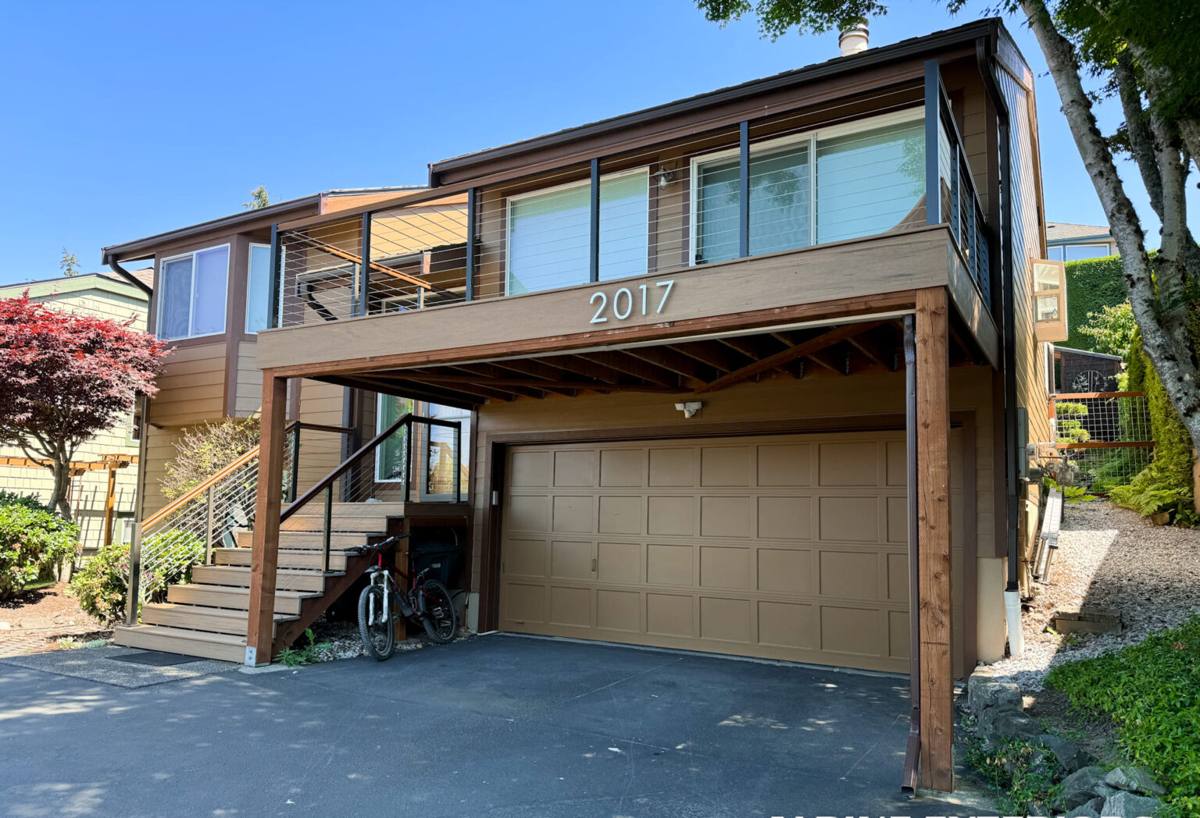
What Salt Air, Rain, and Moss Actually Do to Windows
Salt Air and Hardware
Airborne salt accelerates corrosion on anything metal — hinges, locks, balance systems, and screen frames. Cheaper hardware finishes can start pitting or seizing years before the glass unit itself fails. We look at hardware quality the same way we look at glass quality when we spec a window for this area.
Driving Rain and Water Management
Wind-driven rain doesn't just hit a window — it gets pushed sideways and upward, testing every seam in the flashing and trim. A window that would perform fine on a sheltered, inland lot can leak here if the flashing detail wasn't built for lateral water pressure. Most of the water damage we find around older windows in this area traces back to flashing and sealant failure, not the window unit itself.
Moss and Trapped Moisture
Shaded exterior walls, sills, and trim in this part of Whatcom County stay damp longer through fall and winter, which is exactly what moss and algae need to take hold. Once organic growth establishes on a sill or the base of a frame, it holds moisture against the wood or cladding and speeds up rot and finish failure. Good drainage design and the right sill material slow this down considerably.
Choosing the Right Frame Material and Glazing
There's no single "best" window material for coastal Whatcom County — the right choice depends on the home's exposure, your maintenance appetite, and budget. Here's how the common options actually compare for a property like yours.
| Frame Material | Coastal Performance | Maintenance | Typical Trade-offs |
|---|---|---|---|
| Vinyl | Good — won't corrode or rot | Low | Fewer color/profile options; can look plasticky in period homes |
| Fiberglass | Very good — dimensionally stable, resists salt exposure well | Low | Higher upfront cost than vinyl |
| Wood, clad exterior | Good if cladding and flashing are done correctly | Moderate | Interior wood needs periodic finish upkeep; installation sensitivity is higher |
| Aluminum | Fair — prone to corrosion and heat/cold transfer unless thermally broken | Moderate | We generally steer clients away from bare aluminum this close to salt air |
For glazing, double-pane with a low-E coating and argon fill is the standard baseline for this climate and handles our rain and temperature swings well. Triple-pane adds cost and weight and makes the most sense on north- or west-facing walls that take the brunt of wind and driving rain, or where street noise or wind is a specific concern. We'll walk you through where the upgrade actually pays off on your home rather than selling it across the board.
What a Correct Installation Actually Involves
The window unit itself is maybe half the job. The other half — the part that determines whether it's still performing well in fifteen years — is how it's flashed, sealed, and integrated into the wall.
- Removing the old unit and inspecting the rough opening and sill for hidden rot or prior water damage before anything new goes in
- Repairing or rebuilding any damaged framing or sheathing found during that inspection, not covering over it
- Installing a sloped sill pan so water is directed out and away from the framing, not left to pool
- Flashing integrated with the home's existing weather-resistive barrier in the correct shingle-lap order, so water sheds downward and outward at every layer
- Setting the window level, square, and plumb, with shims placed to avoid distorting the frame and binding the sash
- Insulating the gap around the frame without overpacking it, which can bow vinyl and fiberglass frames
- Sealing the interior air barrier separately from the exterior water barrier — these are two different jobs, not one bead of caulk
- Finishing exterior trim and caulk joints rated for UV and salt exposure, not standard interior-grade sealant
Skipping or rushing any one of these steps is how a good window ends up with a leak two winters later. It's rarely the glass unit's fault when that happens — it's almost always the installation detail.
How Our Process Works, Start to Finish
1. On-Site Assessment
We look at your existing windows, the condition of the openings, sun and wind exposure on each elevation, and what's actually causing any current problems — drafts, condensation, stuck sashes, or visible water staining.
2. Product Selection
Based on that walk-through, we'll recommend frame material and glazing options suited to each elevation of your home, and explain the honest trade-offs rather than pushing the highest-margin option.
3. Precise Measurement and Ordering
Custom windows are built to your home's actual openings, not a catalog size. We measure carefully because a fraction of an inch off can mean weeks of delay on a reorder.
4. Removal and Rough Opening Inspection
Old units come out carefully, and we inspect the framing and sill before installing anything new. If we find rot or prior water damage, we'll show you and discuss repair options before moving forward — no surprises added to the invoice after the fact.
5. Installation and Flashing
New units go in following the flashing and sealing sequence outlined above, matched to your home's existing siding and weather barrier.
6. Final Walkthrough
We test operation, check seals, and walk the job with you before we consider it done.
Energy Efficiency and Everyday Comfort
Old, single-pane or worn-out windows are one of the biggest sources of drafts and heat loss in older Birch Bay homes. Beyond the utility bill, poorly sealed windows also let in the damp coastal air that fogs glass and feeds condensation on cold mornings — a common complaint we hear from California Creek homeowners. A properly sized, correctly installed low-E window unit cuts down on both the temperature swings near the glass and the condensation that leads to mold or mildew on sills and trim. It's a comfort upgrade as much as an efficiency one.
Caring for Coastal Windows After Installation
Even well-built, well-installed windows benefit from some seasonal attention in an environment like this one. A little maintenance goes a long way toward getting the full lifespan out of your investment.
- Rinse frames and glass periodically to remove salt residue, especially on windows facing open water or prevailing wind
- Keep sills and tracks clear of moss, algae, and debris so drainage paths stay open
- Check exterior caulk joints once a year for cracking or separation and have gaps resealed before winter rains set in
- Operate hardware occasionally through the off-season so locks and balances don't seize from disuse and moisture
- Watch for condensation between panes, which signals a failed seal on an insulated glass unit rather than a cleaning issue
- Trim back vegetation that shades windows and keeps them damp longer than necessary
Why It Matters That We Already Work in California Creek
A crew that's worked this specific stretch of coastline knows which elevations tend to take the worst wind-driven rain, how the local moisture and moss patterns behave through the seasons, and what installation details actually hold up here versus what looks fine on paper. That's different from general window installation experience. We're not learning the local conditions on your project — we've already seen how salt air, rain exposure, and moss season play out on homes near yours, and we build the installation around that from the start rather than treating it as an afterthought.
We also stand behind our own installation work, separate from the manufacturer's product warranty. If something about the installation isn't right, that's on us to fix — not something you have to sort out between a warranty claim and a contractor who's moved on to the next job.
Get a Straightforward Estimate
If your windows in California Creek are drafty, fogging between the panes, sticking, or showing water staining at the sill, it's worth having someone look before those issues spread into the surrounding framing. We offer free, no-pressure estimates — we'll assess your current windows honestly and give you a clear picture of what's needed and why. Use the form below to get started.