 Birch Bay Exterior
 Building New in Sumas Means Getting the Window Install Right the First Time
When you're framing a new home or addition in Sumas, the windows aren't just an afterthought you drop in once drywall is scheduled. They're one of the most water-critical assemblies in the entire building envelope. Whatcom County sees long stretches of driving rain, humid air moving in off the water, and a moss season that can run most of the year on north-facing walls. A window that's installed even slightly wrong — a missing flashing lap, a skipped sealant bead, a nail fin fastened before the weather-resistive barrier is properly integrated — won't show a problem on day one. It shows up two or three winters later as a soft spot in the sheathing, a stain on the interior sill, or mold behind the trim.
New construction is actually the best time to get this right, because the wall is open and every layer is accessible. Once siding and interior finishes are in, correcting a bad window install means tearing into finished work. We install new-construction windows in Sumas the way they're supposed to go in the first time, so the homeowner never has to think about it again.
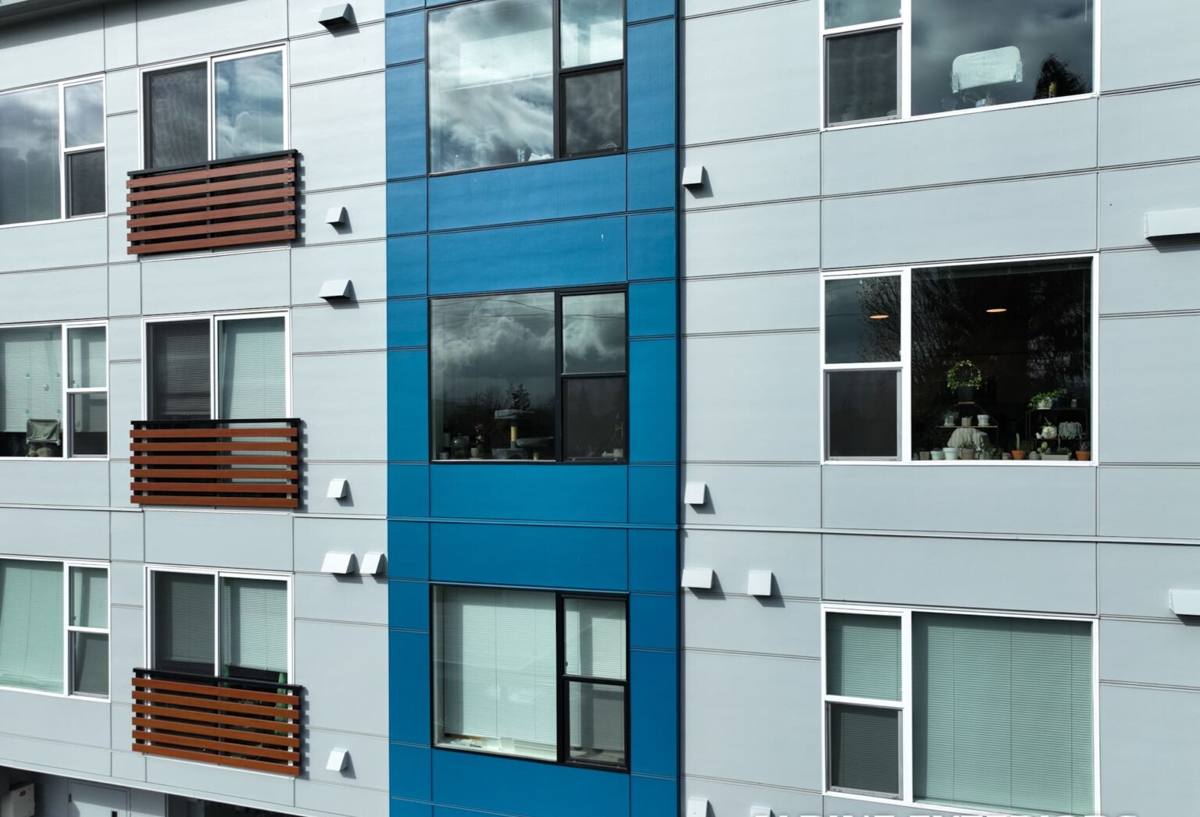
Why Sumas' Climate Changes How a Window Should Be Installed
Sumas sits in a part of Whatcom County that gets consistent, prolonged moisture rather than short heavy downpours. That distinction matters for window installation. A short, intense rain event tests how fast water sheds off a wall. Long, driving rain over hours or days tests whether your flashing details actually redirect water outward instead of just slowing it down. Every lap, every sealant joint, and every drainage path has to work under sustained wet pressure, not just a quick storm.
The region's humidity and shade also mean moss and algae growth on siding and trim happens faster here than in drier parts of the state. That doesn't damage the window itself, but it's a sign of how much moisture the wall assembly is dealing with day to day — which is exactly why the housewrap-to-flashing integration behind the window needs to be done correctly. If water gets past the exterior cladding, the window flashing is the last line of defense before it reaches your framing.
What This Means in Practice
- Head flashing must overlap the weather-resistive barrier above it, never tuck behind it (water runs downhill, and a reversed lap invites water straight into the wall)
- Sill pans should be sloped and end-dammed so any water that gets past the window has somewhere to go besides the framing
- Sealant at the nail fin needs to be compatible with both the window's cladding and the housewrap — not just "whatever caulk is on the truck"
- Jamb flashing needs to extend past the rough opening enough to shed onto the sill pan, not stop short
New-Construction Windows vs. Replacement Windows — Why the Approach Is Different
New-construction windows have a nailing fin (sometimes called a nail flange) around the perimeter of the frame. That fin gets fastened directly to the sheathing and is then integrated into the weather-resistive barrier and flashing system before siding goes on. This is different from a pocket replacement window, which is designed to fit inside an existing frame without disturbing the exterior wall.
Because you're building from a bare rough opening, new construction gives you full control over the water management details — but it also means there's no forgiveness if a step gets skipped. On a replacement job, the surrounding wall is already sealed and doing most of the work. On new construction, the window and its flashing system are the water management plan for that opening. That's why sequencing matters so much, and why we treat it as a structured process rather than "set the window, caulk it, move on."
Choosing Materials for a Sumas Build
Material choice affects how a window performs over years of wet, humid exposure and how much upkeep it asks of the homeowner. There's no single "best" answer — it depends on budget, the home's design, and how much maintenance the owner wants to take on.
| Frame Material | Moisture Behavior | Maintenance | Typical Fit |
|---|---|---|---|
| Vinyl | Won't rot or corrode; performs well in sustained damp conditions | Low — occasional cleaning | Cost-conscious builds, rentals, straightforward openings |
| Fiberglass | Dimensionally stable through wet/dry and temperature swings | Low | Larger openings, energy-focused builds |
| Aluminum-clad wood | Exterior face resists moisture; interior wood needs the seal maintained | Moderate — depends on sealant/finish upkeep | Homeowners wanting a wood interior look with exterior protection |
| Solid wood | Attractive but most vulnerable to sustained moisture without diligent upkeep | High | Historic-style or high-end interiors where owner accepts the maintenance |
We don't push one material as universally "right." What we do insist on is that whatever you choose is installed with flashing and sealant details matched to that product's manufacturer specifications — a great window with a generic, one-size-fits-all install is still a liability in this climate.
Our Process, Start to Finish
1. Rough Opening Check
Before any window shows up on site, we verify the rough opening is square, plumb, and sized correctly for the unit ordered. Framing tolerances that seem minor on paper can throw off the whole flashing sequence.
2. Sill Pan Installation
We install a sloped, end-dammed sill pan so any water that ever gets past the window has a built-in path back outside instead of pooling on bare sheathing.
3. Window Set and Fastening
The unit is set, shimmed level and plumb, and fastened per the manufacturer's schedule — the right fastener type, spacing, and location, not just "enough nails to hold it."
4. Flashing Integration
Jamb flashing goes on first, then head flashing laps over the top, integrated with the weather-resistive barrier in the correct shingle-style order so water is always directed outward and down, never into a seam.
5. Interior and Exterior Sealant
Sealant is applied at the specified points — not everywhere, since over-sealing a window can trap moisture instead of releasing it. Getting this balance right is a detail a lot of crews skip.
6. Final Inspection
We check operation, seal continuity, and flashing laps before the wall gets closed up with siding, because this is the last point where any of it is visible and correctable.
Energy Performance and Washington Code
Washington's energy code sets minimum U-factor requirements for windows in new construction, and those requirements have gotten more demanding in recent code cycles. For a Whatcom County build, meeting code is the floor, not the target — a well-chosen, well-installed window also cuts down on condensation on the interior glass during our cold, damp winters, which is a comfort issue as much as an efficiency one. We help builders and homeowners select units that meet current code requirements for the project's climate zone and confirm that on paper before installation, not after an inspector flags it.
Mistakes We See on New Builds (And Why They Matter Later)
- Flashing installed in the wrong order — even correct materials fail if the laps run the wrong direction
- Nail fins fully caulked instead of left to drain — this traps water against the sheathing rather than letting it escape
- Sill pans skipped on "budget" installs — the single cheapest detail to include and the most consequential to leave out
- Housewrap cut too tight around the opening — leaves no material to properly lap the flashing over
- Windows fastened before the rough opening is confirmed square — leads to operational issues and compromised seals down the line
None of these show up on a walkthrough. They show up in a moisture reading two or three years in, which is exactly why the installation sequence matters more than which window brand ends up in the opening.
Why a Crew That Already Works in Sumas Matters
Flashing and sealant details aren't one-size-fits-all across Washington — what's standard practice in a drier part of the state can be inadequate here. A crew that regularly works new construction around Birch Bay and the rest of Whatcom County has already seen how sustained rain and coastal humidity interact with different wall assemblies, and builds the flashing sequence around that reality rather than a generic checklist. That local pattern recognition is the difference between a window that's watertight on installation day and one that's still watertight after five wet winters.
Get a Free, No-Pressure Estimate
If you're framing a new build or addition in Sumas and want your window openings done right the first time, we're happy to walk the plans or the job site with you and put together a straightforward estimate — no pressure, no obligation. Use the form below to get started.