 Birch Bay Exterior
 Why Birch Bay Village Siding Wears Differently Than Inland Homes
Birch Bay Village sits close enough to the water that siding here is doing more work than siding on a house twenty miles inland in Whatcom County. Salt-laden air drifts off Birch Bay and settles on exterior surfaces, driving rain off the Strait pushes moisture sideways into seams and laps rather than straight down where gutters and overhangs can manage it, and the long, damp shoulder seasons keep north- and shade-facing walls wet enough, long enough, for moss and algae to take hold. None of that is unusual for this stretch of the Salish Sea coastline — it's just the baseline any siding product has to survive, year after year, without maintenance turning into a second job for the homeowner.
Old siding that looked fine ten years ago often starts showing the cumulative effect of all three factors at once: chalky or faded paint from salt exposure, soft spots where wind-driven rain worked past a lap joint, and dark green-black staining on the shaded sides of the house. By the time those signs show up together, patch repairs stop being a real fix. That's the point where full replacement, done with materials and detailing suited to this specific environment, is the honest recommendation.
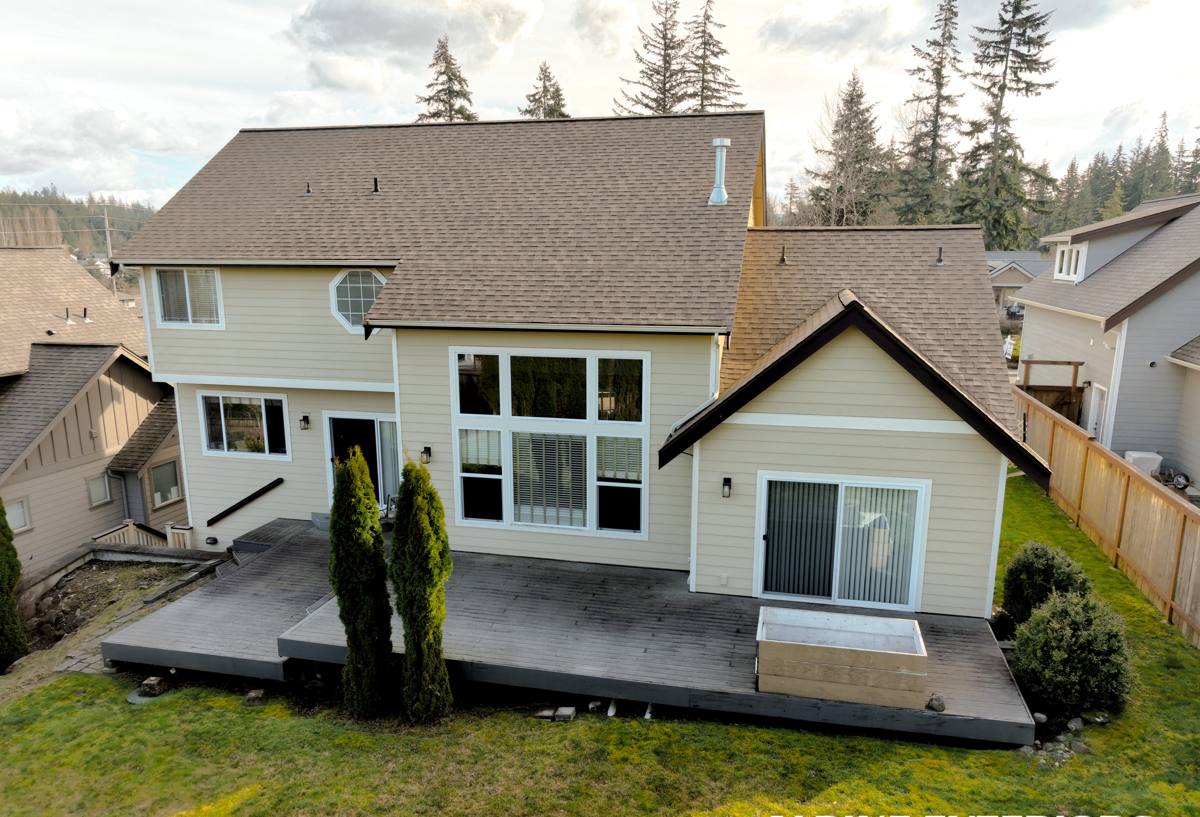
Signs a Birch Bay Village Home Needs Replacement, Not Repair
- Soft, spongy, or crumbling siding when pressed — especially near the bottom courses and around window trim
- Paint that won't hold anymore, even after a fresh coat — a sign the substrate underneath is failing
- Persistent moss or algae growth that returns within a season of cleaning, particularly on north and west walls
- Visible gaps, warping, or buckling at panel seams and butt joints
- Interior signs — musty smell, peeling paint on inside walls, or soft drywall near exterior corners — that point to moisture getting behind the siding
- Siding that's original to a home built more than 20-25 years ago, especially if it's never been fully re-flashed
A single soft board or a cracked panel is a repair. Multiple failure points across different walls, or any sign that water has gotten behind the siding and into the wall assembly, means it's time to talk about full replacement.
What We Install: James Hardie Fiber Cement, and Why
We install James Hardie fiber cement siding exclusively. We don't install vinyl, LP SmartSide, primed spruce, cedar, or other fiber cement brands, and that's a deliberate standard, not a marketing line. In a marine climate like Birch Bay's, the material has to resist moisture intrusion, hold paint and color under salt exposure, and not give moss and mildew an easy surface to grip. Fiber cement is non-combustible, dimensionally stable in wet-dry cycling, and James Hardie's HZ5 product line is specifically engineered for cold, wet climate zones like the Pacific Northwest.
The factory-applied ColorPlus finish matters more here than in a drier climate — it's baked on under controlled conditions and backed by its own finish warranty, which holds up better against salt air and UV than field-applied paint on wood or engineered wood products. We're not against every alternative material on principle; each has real strengths. But for a Birch Bay Village home taking on salt air, sideways rain, and shaded moss-prone walls simultaneously, Hardie's combination of moisture tolerance, factory finish, and manufacturer warranty is what we're willing to put our name behind.
How the Common Alternatives Hold Up Here
| Material | Behavior in Salt Air / Driving Rain | Moss & Algae Resistance |
|---|---|---|
| James Hardie fiber cement | Dimensionally stable, factory ColorPlus finish resists salt fade | Dense, non-organic surface; standard cleaning keeps growth in check |
| Vinyl siding | Can warp or become brittle with UV and temperature swings; seams are a water entry risk | Grows moss/algae readily on shaded panels; texture holds moisture |
| LP SmartSide (engineered wood) | Wood-based core is vulnerable if the factory coating is compromised at a cut edge or fastener | Organic substrate is more hospitable to growth if moisture gets in |
| Cedar / primed spruce | Needs ongoing sealing and repainting to resist moisture; untreated wood absorbs water | Natural wood is highly susceptible without diligent maintenance |
What a Correct Siding Replacement Involves
The siding itself is only part of the job. Most siding failures in coastal Whatcom County homes trace back to what's underneath, not the panel material. A correct replacement addresses the whole wall assembly:
Tear-off and Substrate Inspection
We remove the old siding down to the sheathing and inspect for rot, soft spots, and prior water damage before anything new goes up. Any compromised sheathing gets replaced — covering over damaged substrate just hides a problem that will resurface.
Weather-Resistive Barrier
A properly lapped and sealed weather-resistive barrier goes over the sheathing. In a driving-rain environment like Birch Bay's, this layer is what stops wind-driven moisture that gets past the siding from reaching the framing — the siding is the first line of defense, not the only one.
Flashing at Every Penetration
Windows, doors, vents, and any wall penetration get properly integrated flashing, installed to shed water down and out rather than trapping it behind the siding. This is one of the most common places we find shortcuts in older installs, and it's usually the actual source of interior water damage that gets blamed on "old siding."
Correct Fastening and Clearances
James Hardie panels have specific fastening patterns and minimum clearances from grade, roofing, and decks that are part of the manufacturer's installation requirements — and part of what keeps the product warranty valid. Skipping these is the single biggest reason fiber cement siding underperforms when installed by a crew that doesn't specialize in it.
Caulking and Joint Treatment
Butt joints, corners, and trim transitions are sealed according to Hardie's specifications, not just caulked generically. In a wet climate, joint detailing is where long-term performance is won or lost.
Our Process, Start to Finish
| Step | What Happens |
|---|---|
| 1. On-site assessment | We walk the home, check current siding condition, and look for any signs of trapped moisture |
| 2. Written estimate | Scope, material, and price laid out clearly — no pressure to decide on the spot |
| 3. Tear-off | Old siding removed, sheathing inspected and repaired as needed |
| 4. Weather barrier & flashing | New WRB installed with correct laps; flashing integrated at every opening and penetration |
| 5. Hardie installation | Panels installed to manufacturer fastening, clearance, and joint specifications |
| 6. Final walkthrough | We review the finished work with you before calling the job complete |
Cost Factors for a Birch Bay Village Home
Every home is different, so we don't quote a number without walking the property, but the main drivers of cost are consistent:
| Factor | Why It Matters |
|---|---|
| Home size and wall complexity | More corners, dormers, and trim details mean more labor and material cuts |
| Substrate condition | Rotted or water-damaged sheathing found during tear-off adds repair scope |
| Siding profile and accessories | Lap width, trim style, and corner treatment affect material cost |
| Existing flashing and window integration | Homes with poor original flashing need more detail work at openings |
| Site access | Steep lots, tight setbacks, or limited staging area can affect labor time |
Generally, a full siding replacement is a significant home investment measured in the low-to-mid five figures for an average single-family home, with the range shifting based on the factors above. We'll give you real numbers after seeing the house, not a ballpark pulled from a national average.
Why a Crew That Already Works Birch Bay Village Matters
Siding performance in this specific pocket of Whatcom County depends on details that only show up from doing the work here repeatedly: how far wind-driven rain travels up a wall on an exposed lot near the bay, which sides of a home stay shaded and damp long enough to grow moss even in summer, and how salt exposure actually behaves on painted and factory-finished surfaces over years, not months. A crew that installs siding all over a region without that local pattern recognition is guessing at the margins — the flashing detail that matters most, the clearance that actually gets tested by this climate, the joint that needs extra attention on a bay-facing wall. A crew that already works Birch Bay Village has already made those judgment calls on homes near yours and adjusted accordingly.
Caring for New Siding After Installation
Correctly installed Hardie siding is low-maintenance, not zero-maintenance. A little routine care keeps it performing for the long haul in this climate:
- Rinse the exterior annually, and more often on shaded or north-facing walls prone to moss
- Keep gutters clear so overflow doesn't run down siding faces or pool at the base of walls
- Trim back vegetation and landscaping that keeps siding shaded and damp against the wall
- Inspect caulking at trim and joints every couple of years and re-caulk if it's cracked or pulling away
- Address any soft spots, cracks, or paint failure early rather than waiting for it to spread
Get a Straight Answer for Your Home
If your Birch Bay Village home is showing the signs above, or you just want an honest read on whether you're looking at repair or replacement, we'll come take a look and tell you what we actually see. There's no pressure and no obligation — fill out the form below for a free estimate.