 Birch Bay Exterior
 New-Construction Windows: What the Term Actually Means
"New-construction" windows are not a product category so much as an installation method. These are nail-fin (flange) windows that get set into a framed rough opening before the weather-resistive barrier and siding go on, rather than inserted into an existing finished wall like a replacement window. If you're building a new home in Marietta, adding a room, or reframing an opening down to the studs, this is the method that applies to your project.
The distinction matters because a new-construction install lets the window become part of the wall's water management system from the start — the flashing, the drainage plane, and the fin all layer together in a specific order. Done right, water that hits the window sheds down and out, never behind the siding. Done wrong, or done with shortcuts because "it's just a caulk bead," problems don't show up for a year or two, and by then they're hidden behind finished walls.
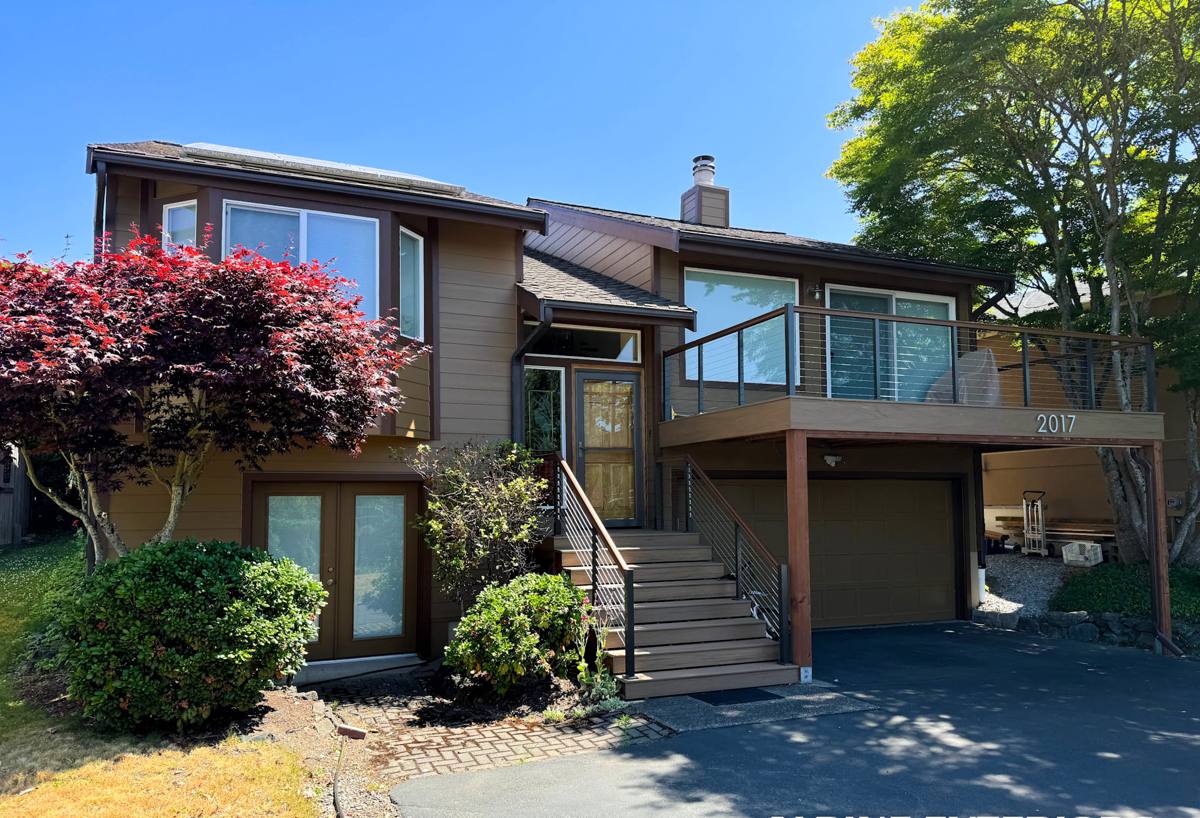
Why Marietta's Climate Puts Extra Demand on a New Window Install
Marietta sits close enough to the water that homes here deal with a combination most inland Whatcom County builds don't see all at once: salty, corrosive air off the bay, wind-driven rain that hits window openings sideways instead of just falling straight down, and a moss and mildew season that runs long into the year on anything that stays damp and shaded.
Salt Air
Airborne salt accelerates corrosion on fasteners, hinges, cranks, and any exposed metal hardware. It also degrades certain sealants and finishes faster than they'd wear inland. We factor this into fastener selection and hardware choices on every window we set near the water.
Driving Rain
Wind off Birch Bay and the Strait doesn't just drop rain on a roof — it pushes it laterally into wall assemblies, including straight into window openings. A flashing detail that would be adequate in a calmer, drier climate can fail here simply because the water pressure at the opening is higher and more sustained.
Moss and Sustained Dampness
North- and west-facing walls in this area stay damp longer than they would further from the water, especially in shaded or low-airflow spots. That prolonged moisture is exactly what moss, algae, and mildew need to take hold on trim, siding, and sealant joints — and it's also what turns a small, unnoticed flashing gap into rot over a few seasons.
The Anatomy of a Correct New-Construction Window Installation
There's a specific order of operations that keeps a window opening dry for the life of the house. Skipping or reversing any of these steps is how "the window leaked" complaints happen years later.
- Sloped sill pan flashing at the bottom of the rough opening, so any water that gets past the window sheds outward, not into the wall cavity
- Weather-resistive barrier integrated in shingle-lap fashion — sill first, then jambs, then head — so upper layers always overlap lower ones
- Window set plumb, level, and square in the opening before a single fastener goes in
- Nail fin fastened per the manufacturer's pattern and spacing, not "close enough"
- Sealant at the fin and jambs that's actually compatible with the WRB and window frame material — not whatever tube was on the truck
- Head flashing or a drip cap above the window so water is directed around and away from the top of the opening
- Gap between the rough opening and window frame insulated without over-compressing the frame, which can bow it and cause operational problems
- Interior air sealing completed before insulation and drywall close the wall up
Every one of these steps is inspectable when the wall is open and invisible once siding goes on. That's exactly why we document flashing with photos before it gets covered — for our own records and so you have proof of what's actually behind your walls.
Choosing the Right Window for a Birch Bay Build
Frame material and glazing both matter more near the water than they do a few miles inland. The table below is a general guide, not a recommendation to avoid any specific brand — it's about trade-offs you should weigh for a Marietta site.
| Frame Material | Behavior Near Salt Air / Moisture | Maintenance |
|---|---|---|
| Vinyl | Doesn't corrode; performs consistently in coastal humidity | Low — occasional cleaning |
| Fiberglass | Very stable dimensionally, holds up well to moisture and temperature swings | Low |
| Wood-clad | Cladding protects the exterior face, but any breach at joints or fasteners can let moisture reach the wood core over time | Higher — finish and joint checks matter more here than inland |
| Bare aluminum | Prone to corrosion and pitting in salt air unless specifically coated and rated for coastal exposure | Higher — coating maintenance needed |
Glazing and Ratings
For this region, look at NFRC-rated U-factor and Solar Heat Gain Coefficient appropriate for a marine climate — low U-factor for heat retention through our wet, mild winters, with SHGC balanced for our modest summer sun. Argon-filled, low-E double glazing is standard practice here; triple glazing is worth pricing out on north- and west-facing walls that take the brunt of the weather. On a waterfront or near-waterfront lot, also ask about the window's Design Pressure (DP) rating — wind load at Marietta's exposure can be meaningfully higher than a sheltered inland lot, and the window needs to be rated for it.
Hardware
Stainless steel or otherwise corrosion-resistant fasteners and hardware are worth the modest upcharge this close to the water. Standard zinc-plated hardware can start showing surface corrosion within a few years in a salt-air environment; corrosion-rated hardware is built for exactly this exposure.
Our Process, Start to Finish
| Stage | What Happens |
|---|---|
| Coordination | We work with your builder or framer to confirm rough opening sizes and installation timing before windows arrive |
| Pre-install check | Every opening is verified plumb, level, and square, and corrected if it isn't, before the window goes in |
| Flashing and install | Sill pan, WRB integration, fin fastening, and sealant applied in the correct sequence, to manufacturer spec and WA energy/building code |
| Documentation | Photos taken of flashing and sealing before siding covers the opening |
| Final adjustment | Operation, weatherstripping, and hardware checked again after siding and trim are complete |
Mistakes We See in Rushed Framing-Stage Installs
Most window leaks on new builds trace back to a handful of preventable shortcuts. If you're vetting any contractor for this work, ask directly whether these are part of their standard process:
- No sill pan flashing — relying on caulk alone to keep water out of the sill
- WRB layered in the wrong order, so water can travel behind a lower layer instead of over it
- Mismatched sealant that doesn't bond properly with the WRB or frame material
- Standard fasteners used where corrosion-rated hardware should have been specified
- Rough opening gaps over-filled with expanding foam, bowing the frame and causing the window to bind
- No head flashing or drip cap above the window
- No photo documentation of flashing before it's covered by siding
Why a Crew That Already Works Marietta Matters
A crew that regularly works this stretch of Whatcom County already knows what a given lot's wind exposure looks like, how long a north wall stays damp after a storm, and what Whatcom County inspectors expect to see at a framing-stage window check. That familiarity shows up in fewer surprises during the build — right fastener specs from day one, flashing sequenced correctly the first time, and a realistic sense of which upgrades (glazing, hardware, DP rating) are worth it for your specific site versus which are overkill.
It also matters for scheduling. New-construction window installs have to land in a narrow window in the build sequence — after framing and WRB, before siding closes everything up. A crew used to coordinating with local builders and framers fits into that sequence smoothly instead of holding up the job.
Cost Factors
| Factor | How It Affects Cost |
|---|---|
| Frame material | Vinyl is typically the most economical; fiberglass and wood-clad cost more but offer different performance trade-offs |
| Number and size of openings | More openings and larger units mean more material and labor |
| Glazing package | Triple glazing, upgraded Low-E coatings, and higher DP ratings add cost but may be worth it on exposed walls |
| Hardware spec | Corrosion-resistant hardware costs more upfront but reduces maintenance near salt air |
| Site and access | Difficult site access or multi-story openings add labor time |
| Scheduling coordination | Working cleanly within a builder's framing schedule avoids delay costs on the broader project |
We won't quote a number without seeing your plans or opening sizes, but we're happy to walk through these factors with you before you finalize a window order.
If you're building or framing an addition in Marietta and want the window openings done right the first time, reach out for a free, no-pressure estimate — we'll look at your plans, talk through window selection for your specific exposure, and lay out exactly how we'll flash and seal each opening. There's a form below to get started.